A few months ago, we kicked off an article on the best ways to get a bit more accuracy from a Norinco M14 with this article. With a forged receiver, a decent barrel, and firing the excellent .308 Winchester or 7.62mm NATO cartridge, it’s a great rifle, albeit one hamstrung by a few issues. But while we addressed the majority of those issues with our first installment, the biggest problem remains that of the rifle’s stock.
Now, we say that not as a simple indictment of the Norinco M14's flimsy plastic stock, but moreso as an indication of the role the stock plays with the M14-pattern rifle, specifically. See, while most rifles prefer to be “free-floated,” a condition in which the stock does not contact the barrel, the M14 actually relies upon the stock to put a certain degree of tension on the barrel, making the stock a key component in obtaining a high degree of accuracy from any M14-style rifle.
So, being Canadian, we’ve opted to slide our project rifle into the Blackfeather RS chassis system; the product of a Canadian manufacturing company that goes by the name M14.ca... which, in case you were wondering, is also their website. Made of billet aluminium and steel, this system is specifically engineered with Norinco M14 rifles in mind, and is both superbly accurate and very modular by design, and comes as one seriously complete kit including pretty much everything you need.
The first step in fitting our project Norinco M14 to the Blackfeather chassis system is to pull the old action out of the terrible plastic stock. We will need to strip the op rod spring guide, gas cylinder and stock ferrule, so we popped the flash hider off in preparation for that step. 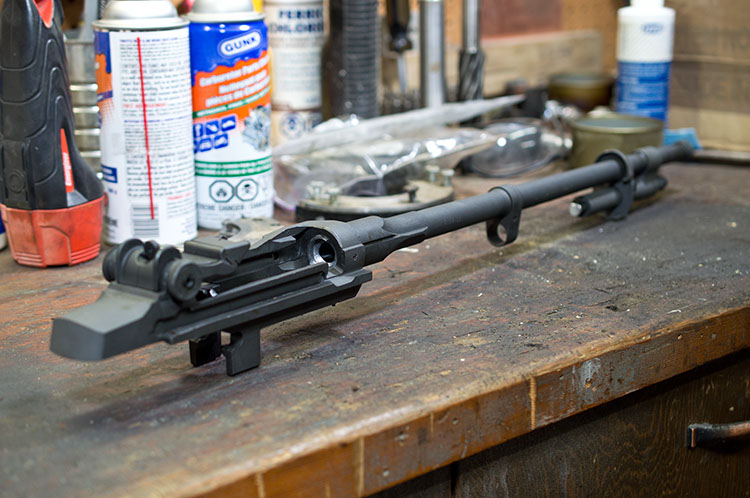
The next step requires simply slotting the standard Norinco barrelled action into the Blackfeather chassis. This is done as a test fit procedure to make sure everything works, and we found that it all fit... but very tightly! So tightly in fact that we wondered if it was going to fit at all...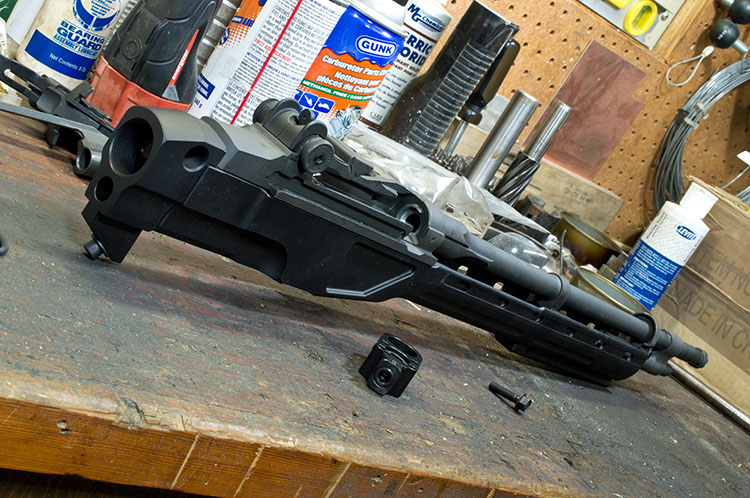
With the action test-fitted to the chassis, the instructions call for the fitment of the original trigger mechanism to ensure that the rifle will still function. Our rifle has always had a ridiculously tight trigger, and closing it on even the weak plastic stock has always taken a pretty severe whack of the hand. Interestingly, it seems to fit better with the Blackfeather chassis, as the trigger is still a tight fit, but doesn’t require quite as much effort to close like it used to. Also, with the trigger closed and the action secured in the stock, we checked the fit and function of the rifle action in the stock, and made sure there weren’t any hang ups. Obviously, as this isn’t the end of this article, there weren’t.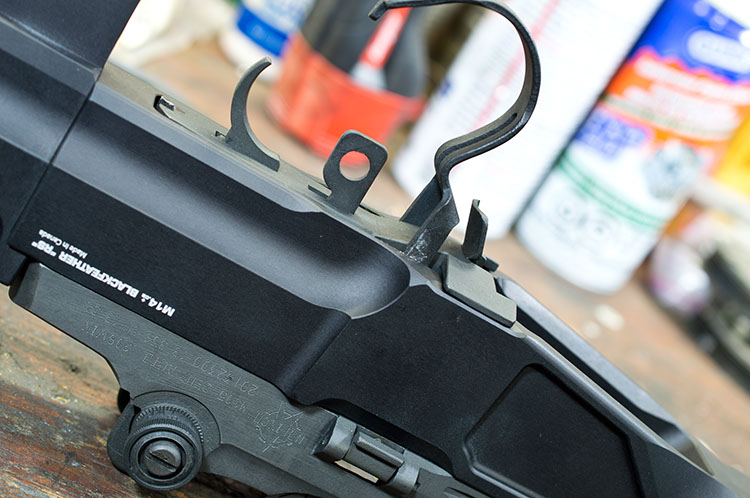
Once we’d confirmed the action fit within the chassis properly, we removed the barrelled action from the chassis, and set about removing the gas system. Now, you’ll note that we have pictured a non-unitized gas system here, and there’s a reason for that. The Blackfeather chassis does not require the use of the standard stock ferrule to secure the chassis to the action, so we may modify the ferrule so as to remove some of the useless material. You’ll also note precisely how many machining operations were required during manufacturing in order to fit the standard gas system to the barrel... undoubtedly one reason why the simpler AR-15 took over!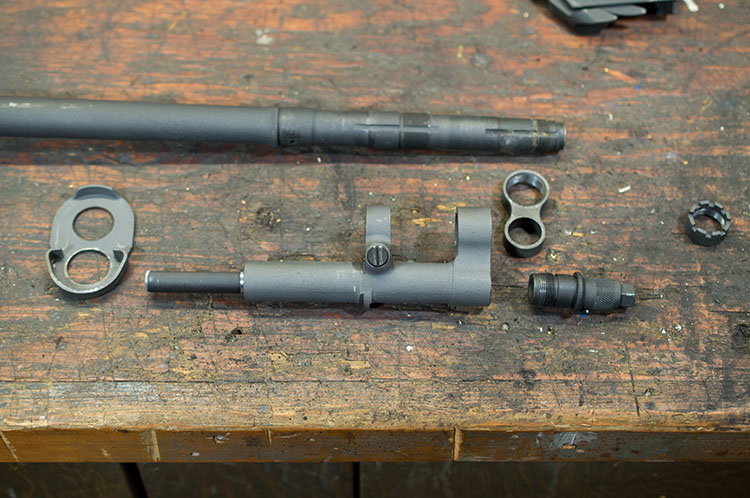
While the flash hider and gas system can be removed by either twisting or sliding something, the op rod guide is a different matter. Not only is it relatively tightly fitted to the barrel boss, it is also held in place with a 1/8” roll pin. Furthermore, the roll pin is itself secured by three peening marks on the guide, designed to keep the roll pin from walking out. Due to the degree by which the roll pin is retained, we recommend using dedicated roll pin punches, as the ball-head of the roll pin punch ensures the punch remains centered on the pin and keeps the pin from collapsing on itself. Having drifted these out with both standard punches and roll pin punches, we can say the roll pin punch does the job much better. 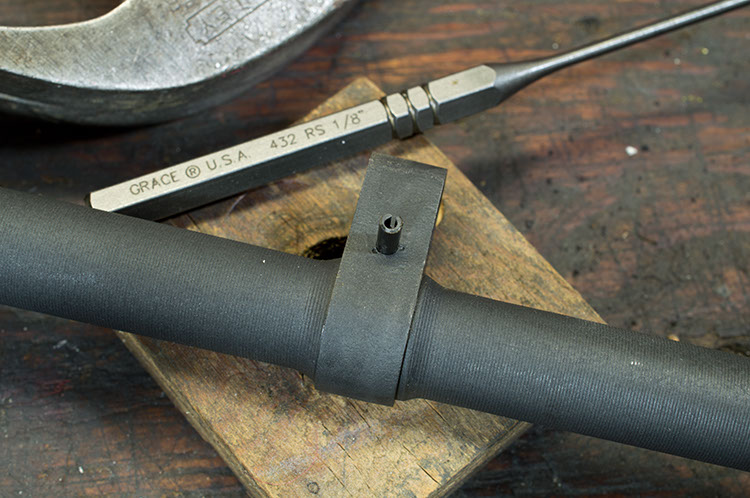
Now comes the real work. At the heart of the Blackfeather chassis is it’s adjustable op rod guide. However, fitting the op rod guide properly is key, and that begins with its fit upon the barrel boss where the old op rod guide once resided. The M14.ca piece features a 0.8” diameter bore, but our barrel boss was slightly oversize, so we clamped the receiver in our vice and used the included emery cloth to knock the barrel boss down and to ensure there were no burrs on the barrel. Then, we moved to the guide itself and used a piece of steel stock and sandpaper to open up its dimensions slightly. Overall, our goal was to have a guide that fit tightly, but could be slid on by hand. 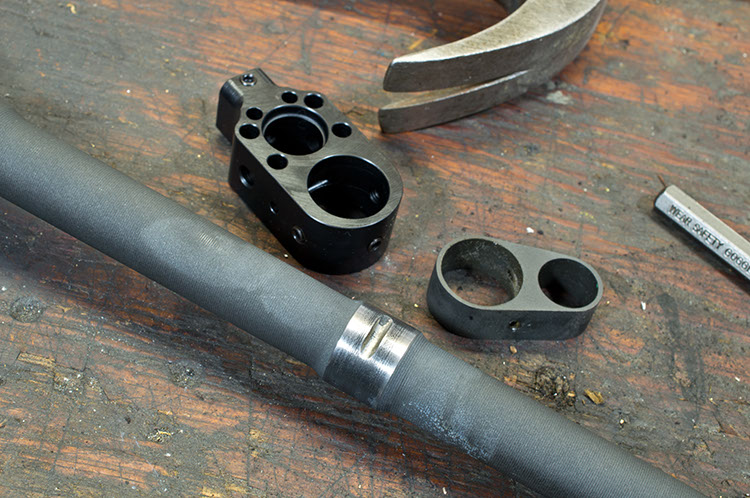
Conveniently, the M14.ca kit includes an “op rod guide alignment tool;” the fanciest term for a big ass aluminium pipe we’ve heard. This is slid over the barrel and allows the op rod guide to be tapped rearward during the fitting process. The guide must be fitted both fore and aft on the barrel, where the tool comes in, as well as clocked on the barrel correctly. To do this, we had a friend place a square on the side of op-rod guide and another on the receiver leg to make it easier to eyeball their alignment, and coaxed the guide around the barrel with a crescent wrench with jaws that we’d wrapped in electrical tape. That keeps the surface of the guide from being marred, which could effect chassis fit. 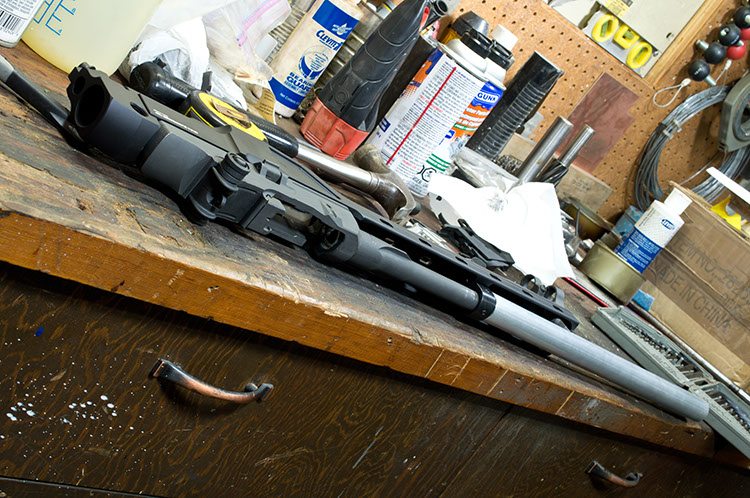
To further confirm fit, the instructions call for the insertion of a 1/4” allen wrench through the chassis’ mounting hole. The instructions are quite clear on this: The hole is specifically sized for the allen wrench with almost no clearance, so if the wrench fits, then you have the op-rod guide’s fore/aft alignment correct. To confirm that it is vertically aligned, we reassembled the op rod and bolt, and did the “tilt test,” wherein we tilted the rifle 45 degrees backwards and forwards to see if the action was free and moving. If it binds up, one may need to take additional steps such as confirming the barrel is indexed correctly or bending the op rod slightly to get the action to cycle smoothly.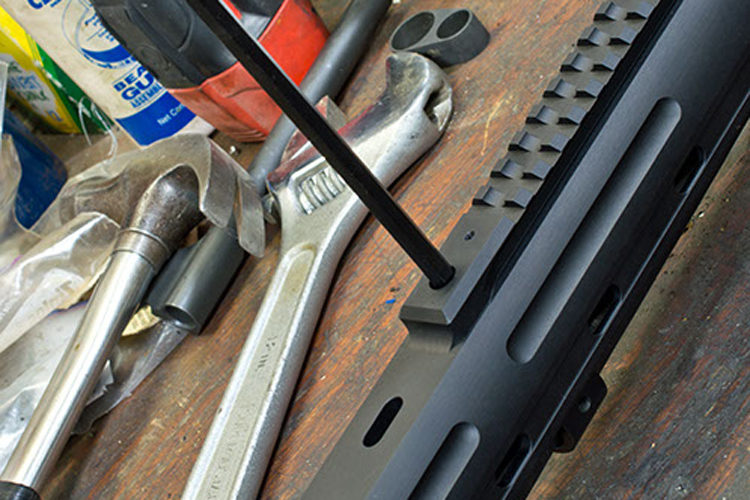
With the new op rod guide fit confirmed, we put a drop of Loc-tite on the included set screws, and threaded them in. The instructions specify that the Lot-tite will essentially be compressed into the joint between the barrel boss and the guide as the screws are inserted, and will provide a solid lock between the two components. However, since the barrel and guide are both relatively heavy duty steel, you can also put some torque into the screws as well since the threads are less likely to strip out than the tiny screw heads are. The kit includes a small packet of red Loc-Tite to use here, but just in case we need to take ours apart for photos in the future, we used a bottle of blue we’ve had in the shop for years.
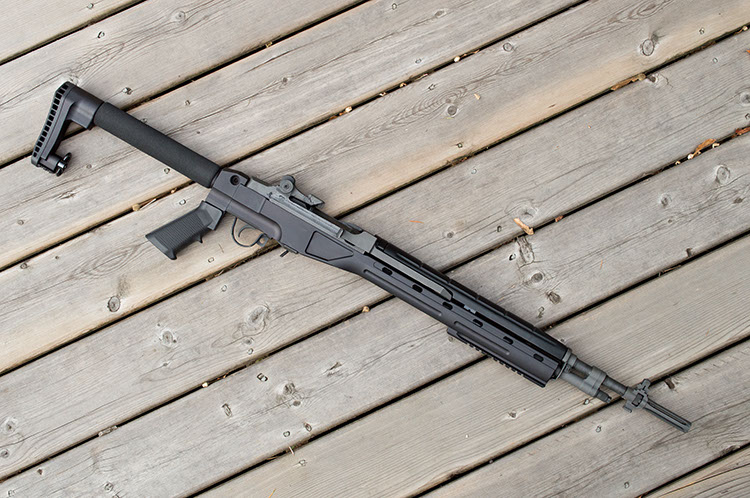
With the op rod guide fitted, we test fit the entire rifle, completely. Not surprisingly, everything still fit perfectly so we got a little carried away in our eagerness to see what it would look like complete. We bolted up a spare pistol grip and threaded in the receiver extension, and replaced the old Norinco heat shield, and as you can see it makes for one seriously awesome looking rifle. In the next installment, we’ll put a few rounds downrange and cover the crucial barrel tension adjustment that is so key to squeezing all the accuracy possible out of the Norinco M14 platform, as well as cover some optic and accessory mounting options also designed and built by our Canadian friends over at M14.ca!

 SUBSCRIBE TO CALIBRE MAGAZINE
$30.00 / year
SUBSCRIBE TO CALIBRE MAGAZINE
$30.00 / year
 UNAPOLOGETICALLY CANADIAN MEN'S T-SHIRT
$29.00
UNAPOLOGETICALLY CANADIAN MEN'S T-SHIRT
$29.00
 UNAPOLOGETICALLY CANADIAN WOMEN'S T-SHIRT
$29.00
UNAPOLOGETICALLY CANADIAN WOMEN'S T-SHIRT
$29.00