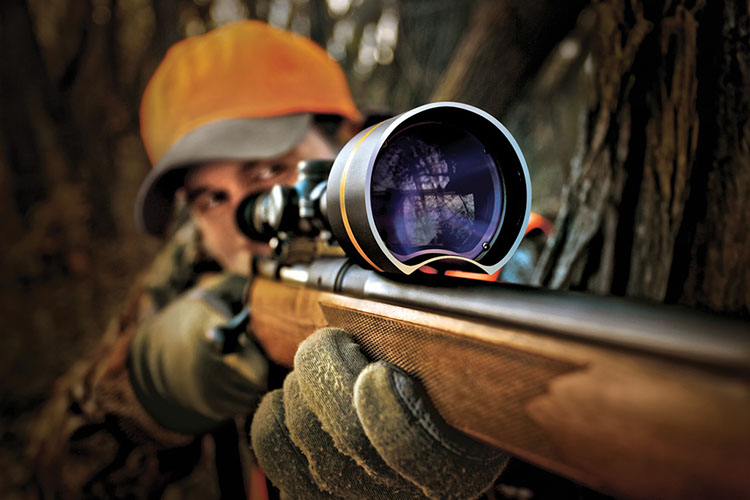
Up until now, Calibre's project rifle; a value-loaded used Stevens action we found online for $350 and mated to a precision Shilen stainless select match barrel before dropping into an MDT TAC-21 chassis system, has been a pretty easy project. By trying to keep costs down and purchasing items on the used market whenever possible, like the action and barrel, we've managed to accrue a pretty decent selection of components for a relatively small investment. That has in turn allowed us to extend our budget and make the jump from a conventional stock layout to MDT's value-packed TA C-21 chassis. And the chassis itself has saved us money and time by including some of the features we would otherwise have to fit, such as a detachable magazine system and rails for both scope, bipod, and accessory mounting. But now it's time to take the plunge and fit what is arguably the most important part of any precision rifle: the optic. So while the next issue will see our project gun return to its previous picture laden how-to article, this month we'll explain how to select an optic for target shooting, and run through some of the more budget-friendly options.
First and Foremost: Focal Planes
The first factor we opted to take into account when selecting an optic was the focal plane. A term that's heard a lot when discussing optics, it sounds a lot more complicated than it is, especially if you understand how most optics are constructed.
At the heart of most optics is an assembly known as the erector tube, or inversion system. This is a tube, positioned in the middle of the optic length-wise, that is used to mount the reticle and the various magnifying lens elements that are responsible for supplying a scope's zoom ability. In the case of most conventional optics, which have the reticle rendered in the second focal plane, the reticle element is physically mounted at the end of the erector tube that's closest to the shooter's eye. This means that when looking through the scope, the reticle is seen ahead of the magnifying lens elements, so that when the magnification is increased or decreased the reticle remains visually unchanged.
like anything, neither system is perfect, and both systems have very definite pros and cons. In the case of second focal plane optics, the biggest benefit is that the reticle can remain perfectly sized regardless of magnification; neither being too thin and hard to distinguish at low power settings nor being too thick and obscuring a small target at higher magnifications. Conversely, the biggest drawback to second focal plane optics is that since the image can be magnified independently of the reticle, the reticle subtensions (a term that refers to the size of the reticle markings) such as bullet-drop compensating demarcations and other indexes will only be true at one power setting. At any other power setting, the image will not be correctly sized for the subtensions, rendering them less useful.
Conversely, the benefit to first focal plane optics is that since the reticle and image remain proportional to one another, reticles can be effectively used to range targets regardless of the magnification level. Likewise, any bullet-drop compensating reticles or other useful indicators on the reticle will remain true at any magnification, since the image and the reticle markings will grow and shrink proportionally with one another. By the same token, because the reticle shifts in size with the scope's power setting, it means the reticle can be too faint on low power settings and too thick on high power settings.
Since we want to be able to use this non-restricted rifle in settings where the target range may not be specifically given, we decided to limit the scope (no pun intended) of our search to those optics with reticles available in the first focal plane, which in turn significantly reduced the number of optics available to us. Although gaining in popularity, first focal plane optics remain relatively uncommon in the North American marketplace, and are even less common when you exclude the higher end tactical optics from brands like Nightforce and Schmidt and Bender.
Is practical to be tactical?
So there's that word: tactical. Perhaps the most divisive term in all of shooting, it's a word that some flock to, and some despise. So what does it mean in the context of our discussion of optics, and why is it the second most important factor to consider?
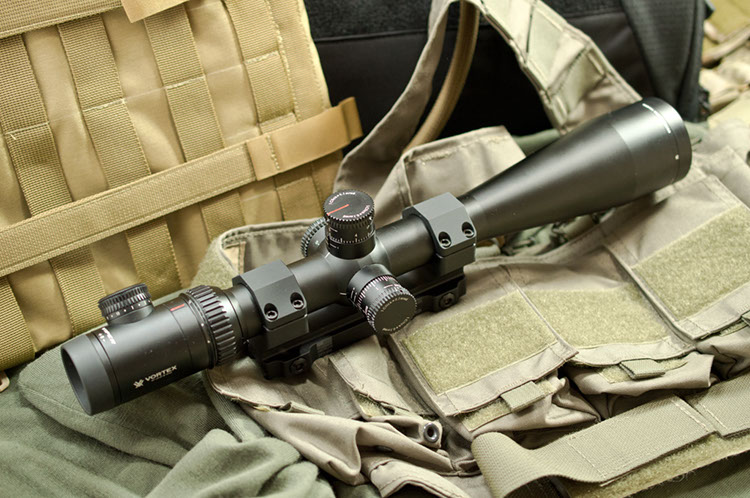
Obviously this is a pretty key feature and completely changes the way one deploys their optic. Working in concert with the superior ranging ability offered by the first focal plane reticle, target turrets take a lot of the guesswork out of shooting longer distances, and also mean that you needn't devote yourself to memorizing the various hold-over points represented by reticle subtensions. However, they still require that you know your bullet's trajectory over various distances to correctly dial the drop in using the elevation knob.
But, as manufacturers recognize the growing interest in target turrets and long-range shooting, more and more companies are offering custom turrets. These replace the conventional MOA or MRAD-marked turrets that most scopes come equipped with from the factory, and instead are inscribed with specific yardages for a specific load, allowing the shooter to skip the step of converting a target's range into a given bullet drop and dialing that amount in. With one of these custom turrets fitted, you simply range the target, adjust the elevation dial to the correct range, and pull the trigger. Most brands that offer this service manufacture turrets for both known factory loads such as the Remington's Premier Match ammo we have lined up for this gun, as well as completely custom turrets that are built to spec and take into account the customer's bullet weight, ballistic coefficient, muzzle velocity, average temperature, altitude and even humidity!
Reticles: BDCs, MOAs, MRADs, WTFs?
So by now we've narrowed the field significantly by deciding that whatever optic we opt for has the reticle in the first focal plane and an exposed target (or tactical) turret system. Those two factors alone will significantly reduce the number of optics available on the market, especially if you opt for something in the first focal plane, and our maximum value/minimal cost budget narrows the field even further. From here, the next thing to consider is the reticle design.
By far the most recognizable and popular reticle in North America is the simple duplex. But while it provides a clean and clutter free image that many hunters appreciate for its ease of use, target shooters and long range shooters alike require more from their reticle design, and often rely on them for everything from range estimations (as previously discussed) to hold-overs. Thankfully, most manufacturers are now offering quite a myriad of various reticle options, most of which can be put into one of three categories: the bullet-drop compensating reticle, the minute of angle reticle, and the milliradian reticle.
The bullet-drop compensating reticle is perhaps the fastest growing reticle on the market today. Today's bullets deliver more performance downrange than ever before, and that's convincing more and more shooters and hunters to consolidate their firearm collection to a few key calibres, with .223 and .308 proving the most popular. As a result of those calibres' popularity, optic manufacturers are now offering reticles that offer holdovers for specific yardages right in the reticle, so shooting out to a given distance is as easy as using the correct hashmark, circle, or other range indicator. No dialing range, no guessing the holdover. However, while most of these BDC reticles are accurate enough for short to medium range hunting purposes, they are typically heavier in nature so as to facilitate the quick shots they are designed to. Furthermore, since not all .223 nor .308 rifles nor ammunition will shoot to the same point, they can prove somewhat less reliable than other options when it comes to target shooting.
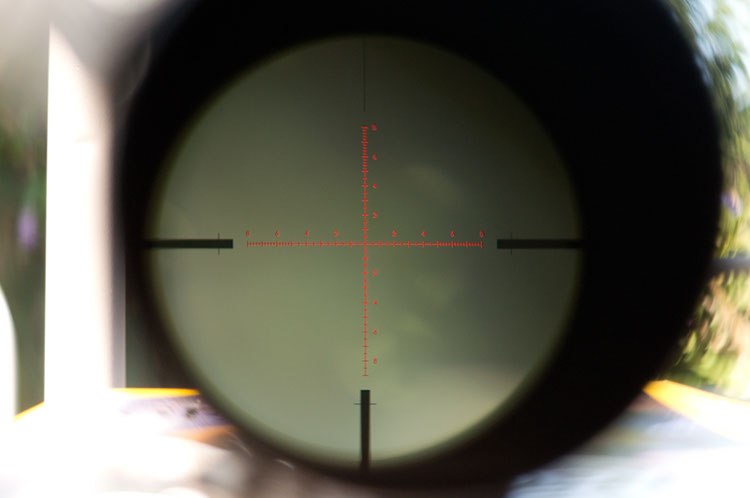
Milliradian reticles, also known as mil, mil-dot, or MRAD reticles, use a similar system as MOA reticles, albeit with a slightly different unit of measurement. And if we're honest, it's bloody hard to explain, so bear with us: Imagine a circle with a radius of exactly 30 centimetres. Then, imagine tracing a 30-centimetre long line along the edge of that circle. If you were to then draw a straight line from both ends of that traced line, to the centre of the circle, the angle between those two lines where they meet would be one radian. Clear as mud? Ok, here's what you actually need to know about radians: they are to degrees as centimetres are to inches. Since a radian is such a huge measurement (converting roughly 57.3 degrees) all optics that use this scale have all their markings in milliradians, which are 1/1000th of a radian. That's a big deal because one milliradian (or MRAD) is equal to exactly 10 centimetres at 100 metres.
Honestly, between MOA and MRAD style reticles, there's no clear winner. On one hand, minute of angle adjustments are slightly finer as the industry standard 1/4 MOA turret adjustment equates to 2.6" at 1,000 yards while the standard 1/10 MIL adjustment equates to 3.6" over the same distance. On the other hand, a true minute of angle is specifically 1.047 inches at 100 yards; not a nice number. But perhaps most tellingly, neither of those benefits to either system will bear any fruit in reality, since there's probably not a shooter on earth that can shoot well enough to blame their 1" larger grouping at 1000 yards on their mil-dot adjustments. Quite simply, it's merely a matter of picking the system that works with the measurements you're more used to, metric or standard.
Bigger, better... bankrupt?
One of the last things to consider is the magnification, tube diameter, and objective size. Obviously these are incredibly important factors; some would call them the most important, but with most manufacturers offering a myriad of optics in all manner of sizes and power levels, finding an optic that's suitably sized is rarely a problem.
Because as objective size increases, so too do price tags, and not insubstantially. This is due to the exponentially more difficult process of manufacturing larger lenses. Although a 56 millimetre object may only be slightly larger than a 50 millimetre objective, those 6 extra millimetres means the manufacturer needs to find a larger substrate to grind the lens from, and finding larger substrate that remains optically perfect is obviously more difficult. Also, that 6 millimetre increase in size accounts for a 25% increase in surface area on each side, which means 50% more workable area to be ground, polished, and coated.
There's a bit of a sweet spot between 40 and 50 millimetres, though, where the pure volume of scopes available in those sizes means more competitive pricing. Furthermore, even at the upper end of that spectrum, you needn't worry about using strange mounts or anything as most conventional rings or mounts will have a height option that'll fit. So, what did we pick?
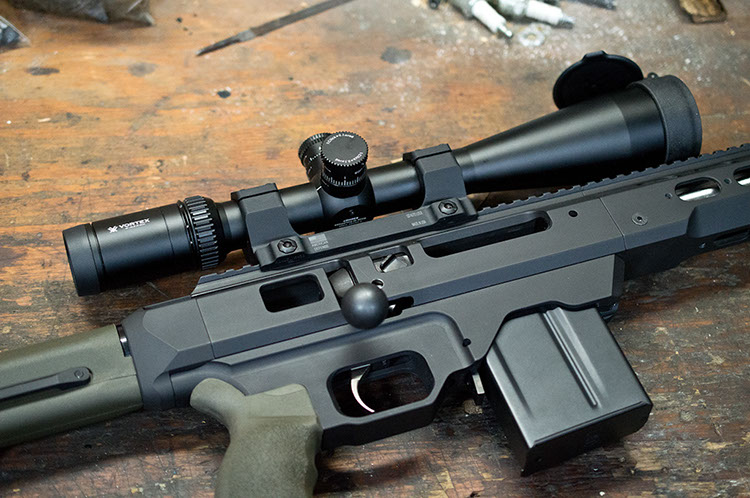
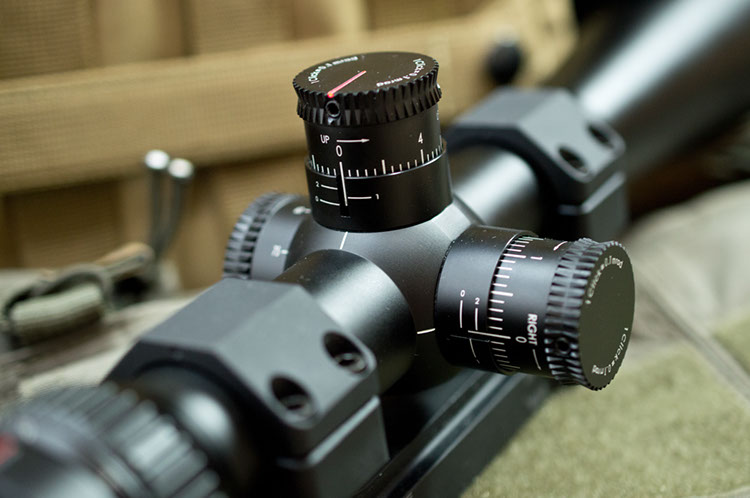
Well, in case the photos haven't given it away, we opted for a Vortex Viper PST 6-24x50 FFP (first focal plane) with the EBR1 MRAD Reticle. Available in stores for under $1,200, this optic offers all the specific features we were looking for, adds an illuminated reticle and side parallax adjustment, and comes with Vortex's lifetime warranty to put any concerns about reliability to rest.
As a relatively new company, Vortex has been much faster to adapt to the current trends than most brands have proven to be, and a ton of their optics are available with both target turrets, and with the reticles rendered in the first focal plane. The additional features, such as a simple (if inelegant) zero-stop system and wonderfully illuminated etched reticle are simply icing on the cake, because if you want something that'll perform at long yardages but won't break the bank your options are pretty well limited to just two choices: the optic on these pages, and the Bushnell's Elite Tactical 6-24x50 FFP. Obviously similar optics with a similar market in mind, the Vortex has far more positive adjustments on its target turrets, and when viewed side-by-side offers slightly better resolution and clarity.
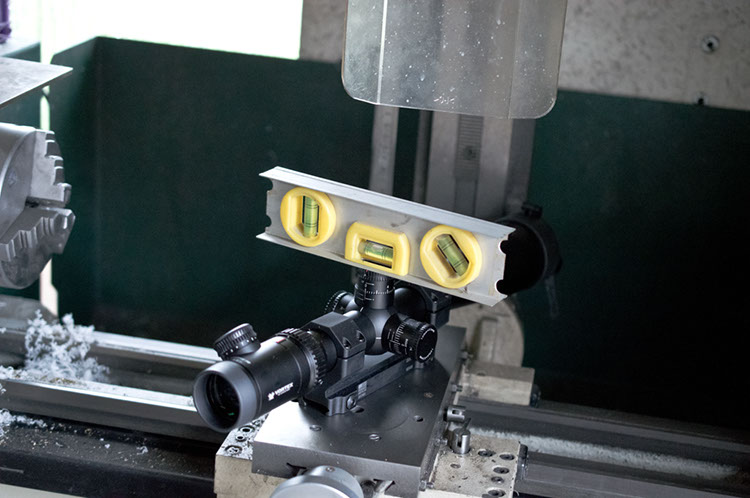
We began by placing the optic in the rings, and loosely doing up the screws to tighten the rings down in such a manner than everything was kept in place, but loose enough that we could move the optic fore and aft without too much effort. From there, we placed the rifle into a rest (a cardboard box with two divots cut into it will work too), and figured out roughly where the optic needed to be in order to comfortably keep our pupil in the scope's relatively small eyebox at all magnifications. Then, with that roughed in, we moved the mount into the rail slot that would allow the AMD mount to hold the scope as near to the middle of the scope as possible. Having tightened the mount down onto the rail, we then moved to ensure the rifle was level in the rest by balancing a bubble level across the rail, just ahead of the scope. Then, using either a smaller bubble level on the elevation turret, we moved the scope into the correct position so ensure we remained within its eyebox and had a level reticle. Then we tightened the ring screws down to 22 inch-pounds; right in the middle of the 20-25 inch-pound range suggested by American Defense Manufacturing.
After that we set about attaching the accessories we'd gotten to compliment the long-range aspirations of this rifle; the must-have protective scope caps, a scope level, and a bullet drop chart printed from Vortex's Long Range Ballistic Calculator. With that taped to the side of the rifle for quick references we can more readily dial in our dope. Sadly, due to the lingering safety issue with the trigger we remained unable to zero the scope, but having looked longingly through it at things as far away as we could, it certainly looks promising.
Check back next issue when we'll be finishing our project with a drop-in trigger kit, some carrying options that'll help us get it into the backwoods, and it's much-awaited accuracy results!