If you’re anything like us, well, you may have several problems, but one of the better issues you’re facing is that you probably have a small pile of parts somewhere with the finish completely worn off, which you’ve been meaning to do something about.
Or maybe you bought a cheap steel pistol for the sole purpose of playing around with it on the workbench.
Or maybe you have a deadline and if you don’t think of something to do, write about, and photograph by 4pm tomorrow, you’ll be fired and your kids will starve and nobody will ever love you again and this is an act of raw desperation.
But regardless of your motives, one of the tasks most home gunsmiths will want to take on is the bluing of parts. Generally speaking, large-scale bluing is carried out with vats of hot, caustic chemicals and the overwhelming majority of gun owners won’t be interested in spending the time or resources necessary to set up for hot bluing.
But cold bluing using readily available chemicals works quite well if you follow the steps laid out here, and for those ready to take a step beyond cold bluing, it’s possible to do what is often called “nitre bluing” at home, even though the chemicals traditionally used aren’t readily available in Canada.
So sit back and ride shotgun with us as we re-blue some parts, with nothing more than a bit of ingenuity and some equipment already found in the garages of a substantial fraction of Canadian gun enthusiasts.
Cold Bluing is a relatively straightforward process: you buy the bluing compound (typically selenium dioxide) paint it on, rinse it off, and you’re done. At least, that’s the theory. In practise it’s a little trickier to use and most people find the results uneven; the chemical seems to bond to different surface structures to varying degrees and as such, the appearance is often a bit patchy.
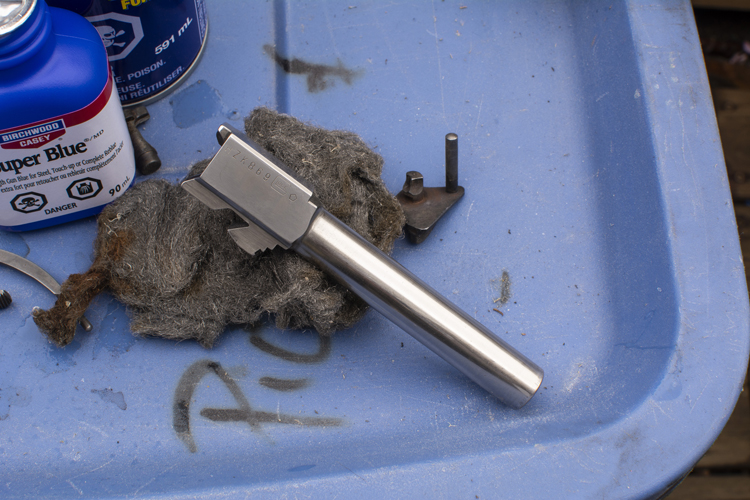
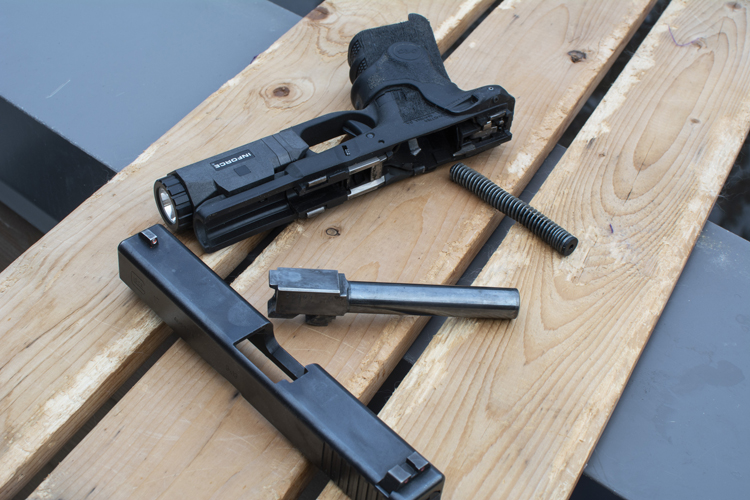
But we were willing to bet we could come up with something half-decent with enough effort, so for our cold blue attempt, we took a Glock 17 barrel that a previous owner had polished and went to work.
As with most surface finishes, the real secret is in the prep, and so we attacked the barrel with the kind of fanaticism Glock owners usually reserve for insisting that no other guns can make it through a magazine without failure, and for covering up evidence of .40 Glocks exploding like hand grenades someone forgot to throw. Our preppin’ weapons: a 1000x/4000x Japanese wet stone, which we ordinarily use for honing knives and chisels, and steel wool up to 0000 grade.
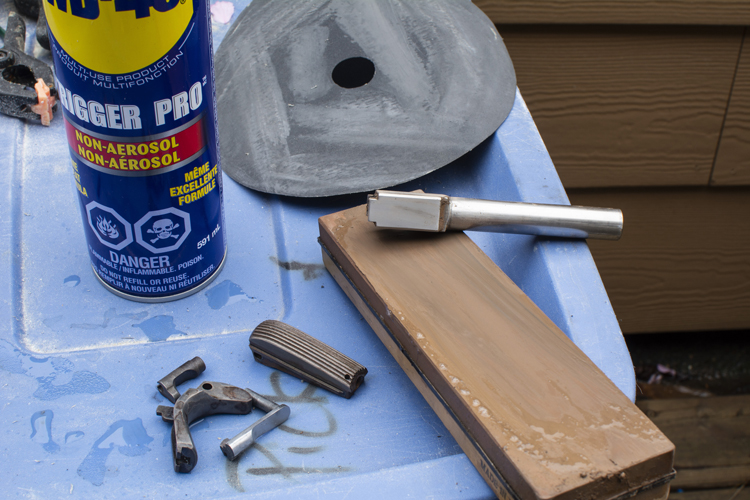
The sharpening stone we used on the flat surfaces. It’s a great tool for polishing an edge flat, although if you don’t have one, wet sandpaper on a glass plate is a simple, cheap alternative. Using finger pressure and an exotic, all-natural sharpening lubricant known as “spit”, we slid the barrel flats back and forth on the stone for a few hundred strokes. In very short order the surface being worked begins to show and as long as you are using a fine stone, the material is taken down so slowly that it’s difficult to do much damage.
In the case of the Glock barrel, the top and ejection port sides aren’t particularly critical dimensions, although obviously if you take down too much you’ll eat through the hardened outer layer of tenifer, and if you really go wild you’ll damage your serial number and that’ll cause your gun to go on a killing spree, so we’d recommend doing fifty strokes on the stone, taking a look at the wear pattern, and repeat as necessary.
Getting the surface true and engaging the stone evenly is the single most important factor in ensuring an even blue. The underlying surface texture, at a microscopic level, will determine the way in which light is reflected off the metal after the treatment is complete, so spend as much time with the abrasives as you can stand.
Once you’re satisfied with the underlying metal of your project, wash it carefully and dry it thoroughly. We used simple dish detergent on our Glock barrel, but washed it several times to be confident that any residue was removed. After towel drying the part, we left it on top of the kitchen stove to let it gently bake while a batch of Belgian fries achieved readiness in the oven.
Post-frites, we retrieved the warm, clean barrel and took it back to the shop, where we painted on the bluing solution. Rather than simply apply it with a swab or brush, however, our best results have come from saturating the surface and then immediately scouring it with 0000 steel wool. This seems to even out the finish colour substantially and works on both flat and curved surfaces.
In the case of our Glock barrel, we were able to take it from an ages-past polish, complete with years of neglect and resultant slight pitting, to a near-factory look, the only intrusive defect being a small depressed section, present from the factory, on the top of the barrel hood. But for a previously-polished Glock barrel with tens of thousands of rounds on the clock, we’ll take it.
If you’ve read this far and thought “you’re just doing a glorified paint job, give us something challenging, well, try this on for size: the traditional nitre bluing method uses a bath of potassium nitrate crystals, heated past their melting point of 334 degrees celcius, to colour the steel. Where can the average Canadian buy potassium nitrate? Well, sometimes feed stores, chemical supply houses, and any company adhering to Part 20 of the Explosives Regulations. Suffice it to say, it’s not convenient to purchase. Like a lot of strong oxidizing compounds, the terrorists have won the right to have it taken away from all of us, so we’ll have to get creative. What, then, are the necessary properties of the material we need?
If you guessed “nitrogen”, we understand. The title implies it. Nitrogen itself is used in some types of steel production. Potassium nitrate, or saltpetre, is a major component in gunpowder. It must be something chemical, right? Wrong. All we really need is heat, for a controlled oxidation on the outer layer of the metal.
Yes, despite the near-universal use of saltpetre for nitre bluing, the whole process is actually no different than the method used around the world to turn motorcycle exhaust pipes blue: get it to the right temperature, and hold it there long enough. What is the right temperature? Coincidentally, it’s about the melting point of potassium nitrate crystals. Now you may not have molten potassium nitrate, but here’s something many home gunsmiths can sort out: molten lead.
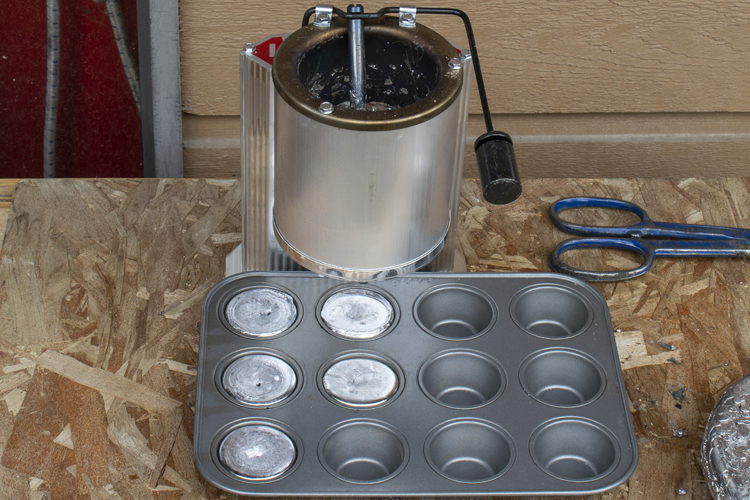
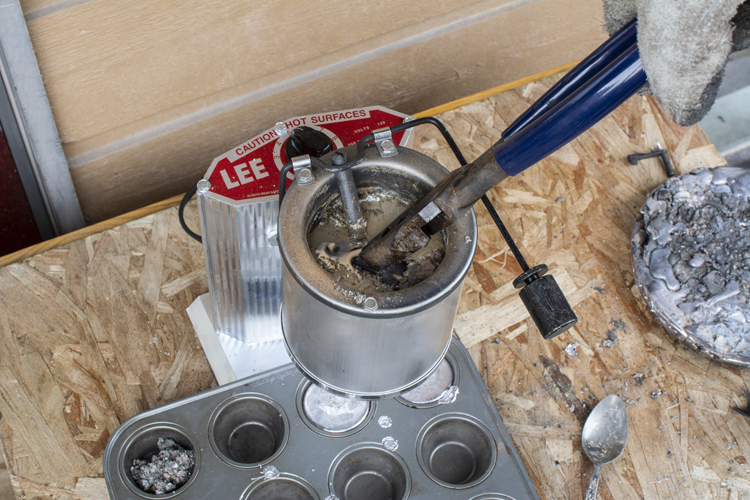
Lead has a melting point just a few degrees below saltpetre: 327 instead of 334. If you cast bullets, you probably have a melting pot with a reliable temperature control, usually with infinitely fine adjustment capability. So let’s get ready, and lead blue some parts.
One nice aspect of using lead is that you can double up on your tasks, making for a good productive day. In our case, we had a bunch of old lead pipe that we wanted to cast into ingots for future alloying, so we took the opportunity to get some bluing done while keeping a hot pot for a few hours.
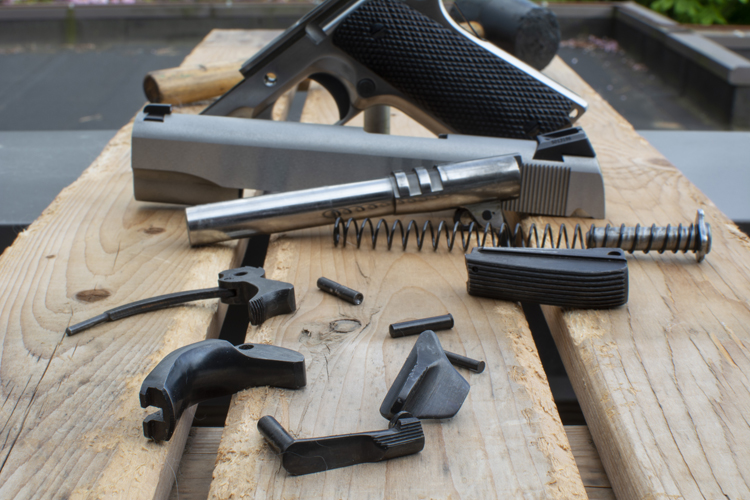
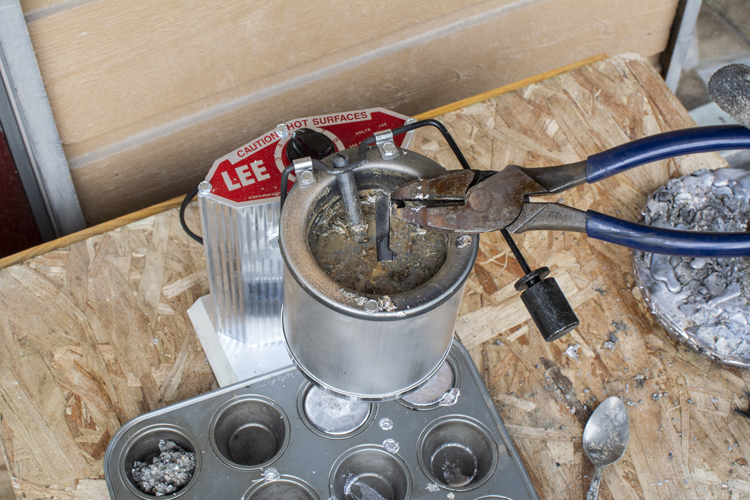
And as it happens, we had some old 1911 parts with little to no finish left, and the idea of nitre blued parts on a 1911 is always kind of appealing. And so off we went with a fistful of parts and a well-loved Lee lead melting pot, prepared to take our lives in our hands as we worked heroically with molten metals at dire risk, voluntarily subjecting ourselves to threats that warranted such drastic protection as a pair of old work gloves, and being outside.
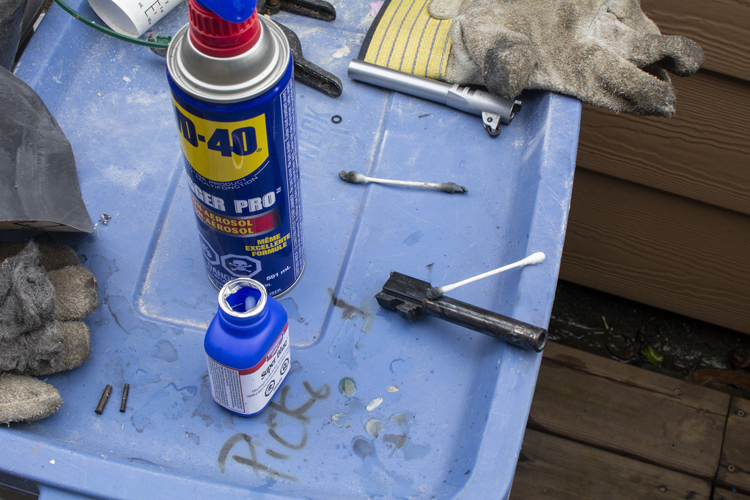
As with cold bluing, the end result is highly dependent on the prep work. We were working with cheap old castings, so every surface that could get cleaned up, did. Again, we used hand tools for this process: wet sanding from 220 to 600 grit with WD-40 for lubricant generates good results. The exterior surfaces are small, and the cosmetic nature of the work means absolute precision is less than critical, so we simply laid the sandpaper on available surfaces with useful flats and curves to grind the pieces to shape.
Immersing the parts in hot, liquid metal is not excessively dangerous but it does require them to be absolutely dry; the surprise presence of water or cutting lubricant in a passage or crevice can turn the molten lead into a spattering, popping bucket of pain, so take your time and ensure the part is ready prior to dipping it in the metal. One method of ensuring dry surfaces is to dip a corner in for a few moments, allowing moisture to cook off before committing to the dip; having already eaten our fries, we had no warm oven to rest the parts on prior to bluing and this was the method we chose.
Heating the parts requires both careful monitoring and some experience; the colour of the part will slowly change from a faint straw, through bronze, purple, and blue. Depending on the steel, a surprisingly deep blue can sometimes be possible; in the case of these old Norinco bits, we were able to get them thoroughly darkened. The experience is in the final removal from the lead bath: pulling the part at the wrong speed can result in lead adhering to the surface. Some small amount will almost always come out with the part, but the difference between cleaning off trace amounts with a soldering iron and reheating parts several times to get them to a workable stage is only learned through experimentation. Our best results have come from bringing the part to temperature, withdrawing it only briefly to monitor the oxidization process, then, when approaching the final removal, giving the pot a quick stir and pulling the part through the fresh, hot, silvery lead and avoiding the layer of lead oxide that accumulates on the surface.
The advantage of using a heat bath, rather than a MAPP torch or other heat source, is the relative uniformity of the heat; while the parts retain some of the organic colour variation that makes classic nitre bluing beautiful, the appearance is subtler and darker tones are achievable with less risk to the heat treatment of the metal. The melting point of lead is roughly a hundred degrees below the temperature needed to ruin the temper of most steels, so as long as the pot is kept relatively close to its point of liquefaction, the process is quite reliable.
So there you have it: two methods of bluing steel parts, one hot, one cold. No exotic chemicals necessary, no tanks of lye, no high-dollar equipment. The key ingredients are, like so many things in shooting, a steady hand, thorough preparation, and proper follow-through to get the result you want.

 SUBSCRIBE TO CALIBRE MAGAZINE
$30.00 / year
SUBSCRIBE TO CALIBRE MAGAZINE
$30.00 / year
 UNAPOLOGETICALLY CANADIAN MEN'S T-SHIRT
$29.00
UNAPOLOGETICALLY CANADIAN MEN'S T-SHIRT
$29.00
 UNAPOLOGETICALLY CANADIAN WOMEN'S T-SHIRT
$29.00
UNAPOLOGETICALLY CANADIAN WOMEN'S T-SHIRT
$29.00