Cheap ammo, it’s every shooter’s dream. And cheap ammo that’s superbly accurate is enough to give us fainting spells. Unfortunately, cheap and accurate are rarely used together when describing a batch of ammunition. We usually get one or the other, not both; meaning we have to decide which is most important for a given application. While it would be nice if budget considerations weren’t a factor in our use of firearms, that’s not realistic. So, let’s face facts, sometimes cheap wins. And when cheap wins, it often means we’re feeding our guns corrosive ammo.
Primer Primer
To fully understand corrosive vs non-corrosive ammunition, we need to delve into a little history, particularly that of primers. Of course, the precursor to the modern primer was the percussion cap which provided a way to get rid of the complicated flintlock ignition system. And when the percussion cap was integrated into the cartridge case it became what we now call the primer.
The modern primer was patented in 1866 in both England and America, but as two separate systems, the Boxer system and the Berdan system, both named after their inventors. Hiram Berdan of New York developed his system—which became more common in Europe—at the same time as Henry Boxer of England introduced his system—which dominated in North America.
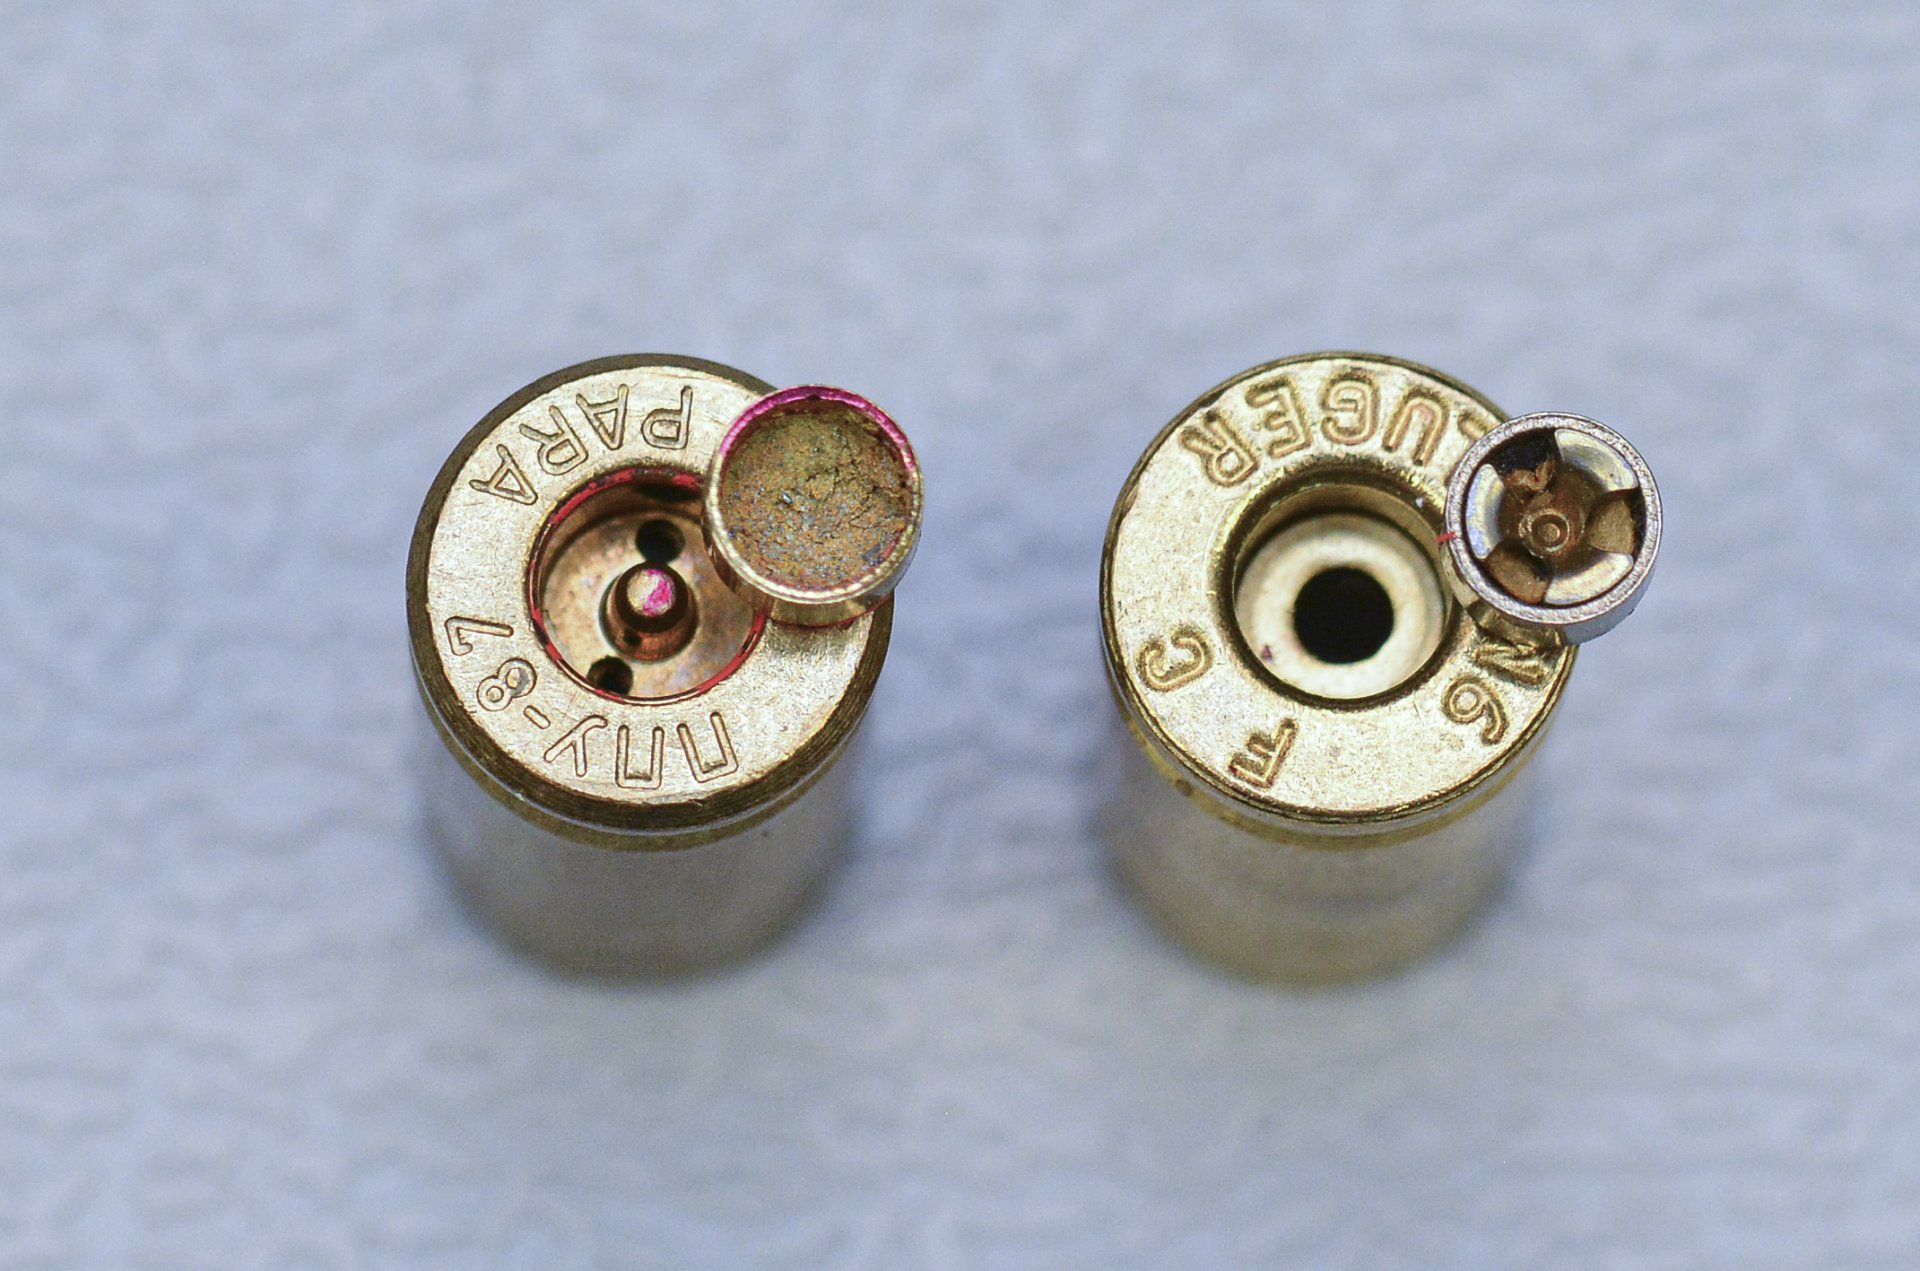
The key difference between the two is the location of the anvil. Yes, primers need an anvil. After all, when the firing pin slams into the primer it needs to crush the impact sensitive compound inside the primer against a solid, hard surface for ignition to occur. In the Boxer system that anvil is built into the primer, but in the Berdan system the anvil is part of the cartridge case. It’s impossible to tell what priming system is used in a cartridge by looking at it from the outside. But with the bullet and powder removed, a glance inside the cartridge case tells the tale. A single, centred flash hole above the primer pocket indicates a Boxer primed cartridge, while off-centre flash holes (one, two or three in number) spread out across the primer pocket indicate Berdan priming.
Here in North America, the Boxer system has become universally used in the manufacture of sporting and commercial ammunition, but it’s still common to find Berdan primed ammunition in military surplus products emanating from Europe, Russia, and the Orient. It’s in these products that Canadian shooters are most likely to encounter corrosive ammunition. This has led to a common misconception that all Berdan primed ammunition is corrosive and all Boxer primed ammo is non-corrosive. In reality, the priming system has nothing to do with the corrosiveness of the ammunition, it’s all about the compound in the primer.
The chemical history of primers is far more complicated and well beyond the needs of anyone but the most scientifically inclined. So, let’s summarize by saying that with few exceptions commercial primers produced in North America became non-corrosive about 1931. But because of stringent US government specifications for military ammunition, which could not be met by early versions of the non-corrosive primers, it was not until the 1950s that US military ammunition became non-corrosive. This was because these early mixtures proved unreliable after extended periods of storage. And since countries often store large quantities of ammunition as a war reserve, military ammo must have unquestioned storage stability. However, these transition dates to non-corrosive technology were considerably later in some countries and seem to be almost non-existent in others.
What’s Corrosive?
Leaving history behind, we still need to understand a little about primer chemistry to grasp what we’re dealing with regarding corrosive vs non-corrosive.
All primers, regardless of chemical composition, are composed of three major compounds; there’s always an explosive to get things started, an oxidizer to provide oxygen for the burn, and a fuel for the reaction. These will make up about 90% of what’s in the primer, with an additional 10% of miscellaneous materials. The most common composition currently in use is comprised of 40% lead-styphnate acting as the explosive, 40% barium-nitrate as the oxidizer, 10% antimony-sulphide as fuel, and 10% miscellaneous materials. These primers are considered non-corrosive, but note the presence of heavy metals, especially lead. That lead in the primer contributes significantly to the airborne lead generated by a gunshot, and since lead is a hazardous material, manufacturers are working hard to get rid of it, and thus create the next generation of primers.
The issue with corrosive primers lies in the oxidizer, which is potassium chlorate (KClO₃). When the primer is ignited, the reaction removes the oxygen atom from this molecule, leaving potassium chloride (KCl). Unfortunately, potassium chloride is a salt, much like sodium chloride, our commonly used table salt. And as a salt it’s hygroscopic, meaning it attracts water. Mix water with salt on top of a steel surface, and rust, with its associated pitting, is guaranteed. That’s our problem.
Identifying Corrosive Ammo
We’ve already discussed the point that both Boxer and Berdan primed ammunition can be corrosive. However, the reality is that in the current Canadian marketplace, Berdan primed ammunition is more likely to be corrosive.
Certainly, the easiest way to determine the corrosive nature of any ammunition is to ask the retailer selling it. Hopefully, they’ve tested sample lots themselves and can therefore offer accurate advice to their customers. However, I expect that many just take the word of the distributor offering it to them, who in turn trusted the importer, who believed their European contact, who maybe said whatever they thought the customer wanted to hear. Meaning, if there’s any doubt about the ammo, you should test it yourself. Fortunately, it’s a simple process.
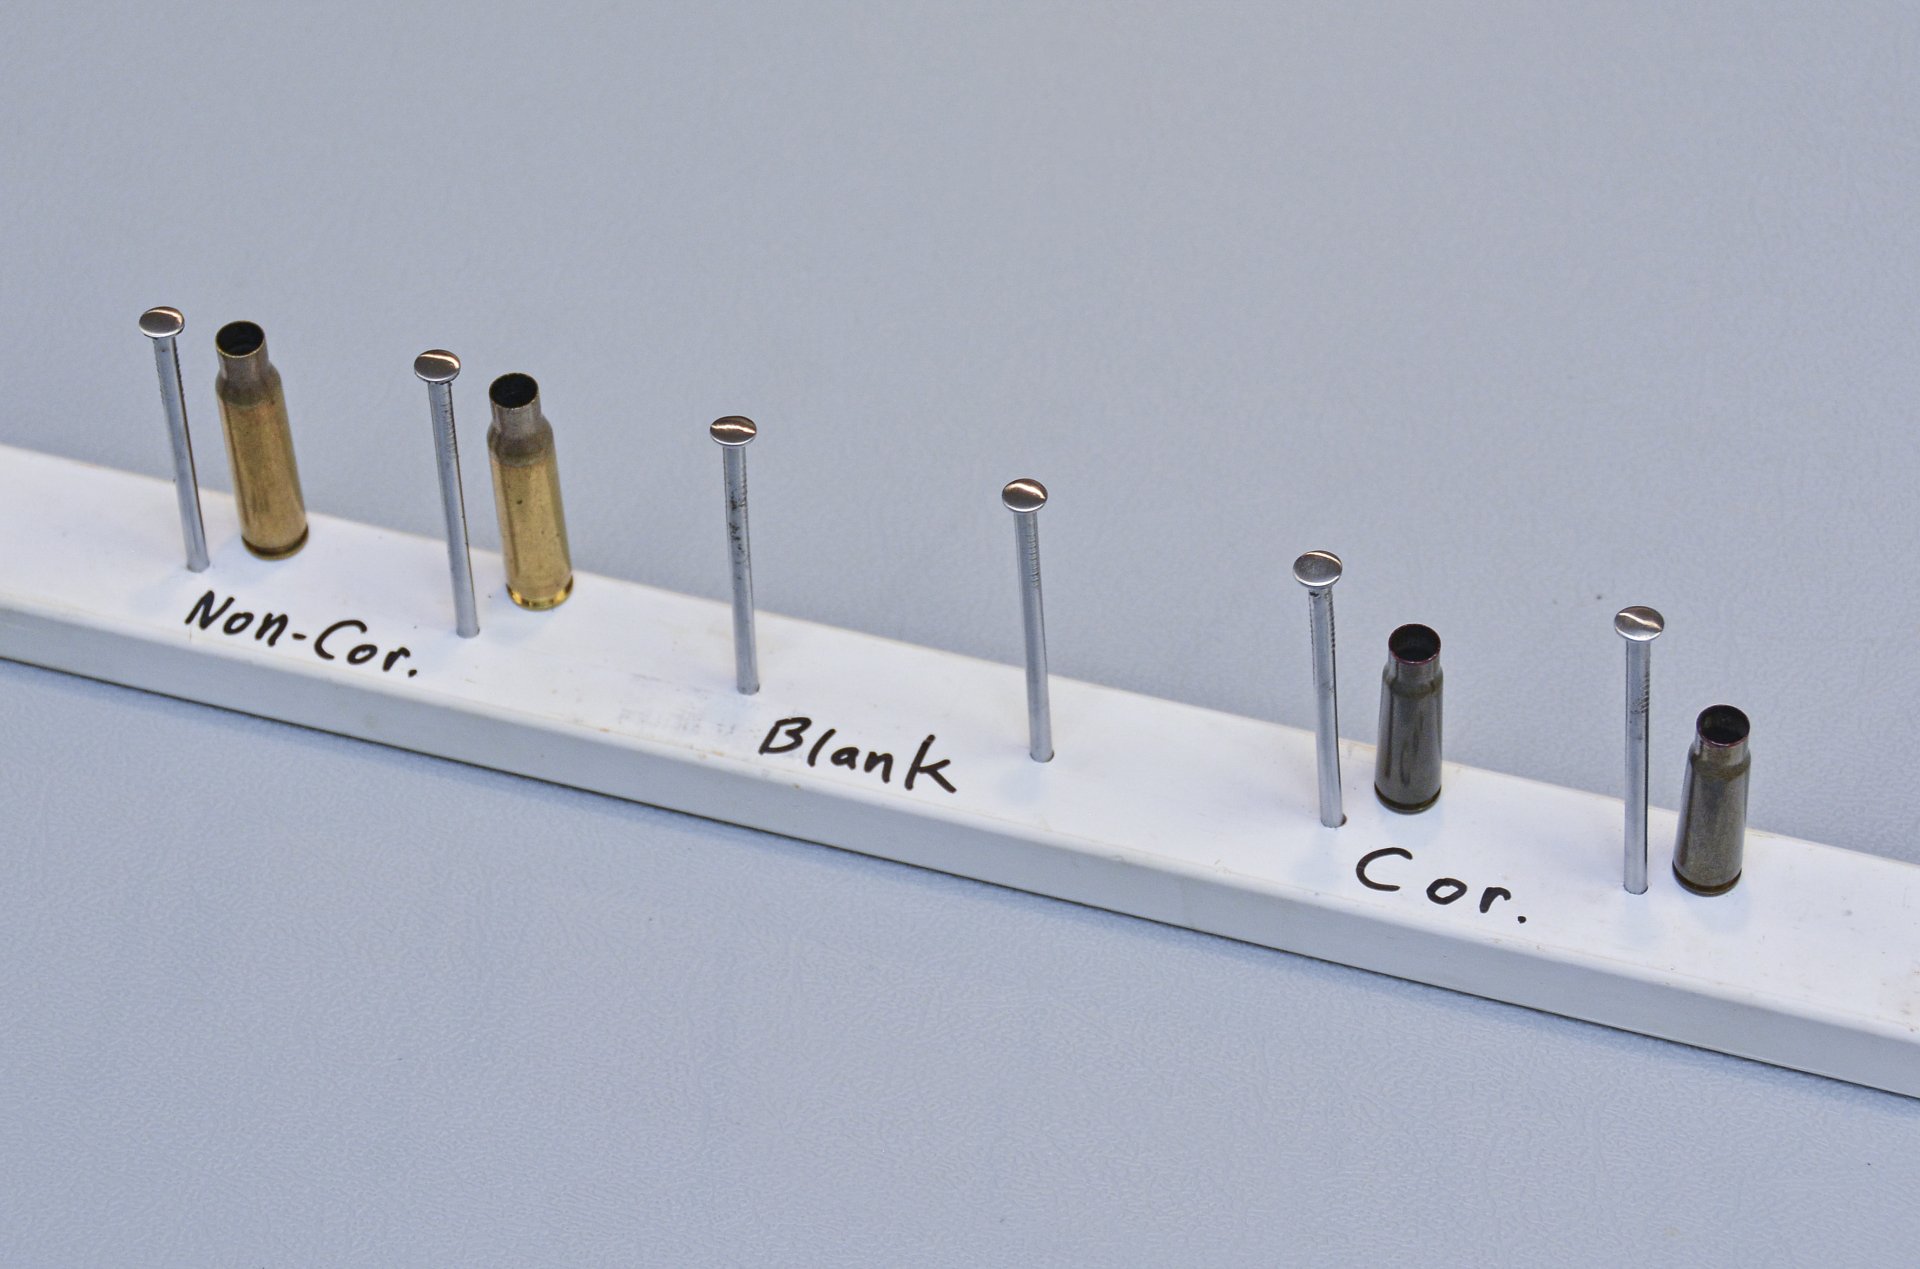
First, you’ll need to pull the bullets on some suspect ammo and dump the powder, leaving the primer intact inside the cartridge case. Then round up some common steel, making sure it’s not stainless and isn’t coated with any protective substance. This can take the form of steel strips or common nails, all available at the local hardware store—if there’s none kicking around your garage. As insurance, I always polish the steel with some fine sandpaper and wipe it with isopropyl alcohol to ensure bare steel is exposed. Now, with steel and a primed cartridge case in hand, all you need is a way of discharging the primer, so its residue coats the steel.
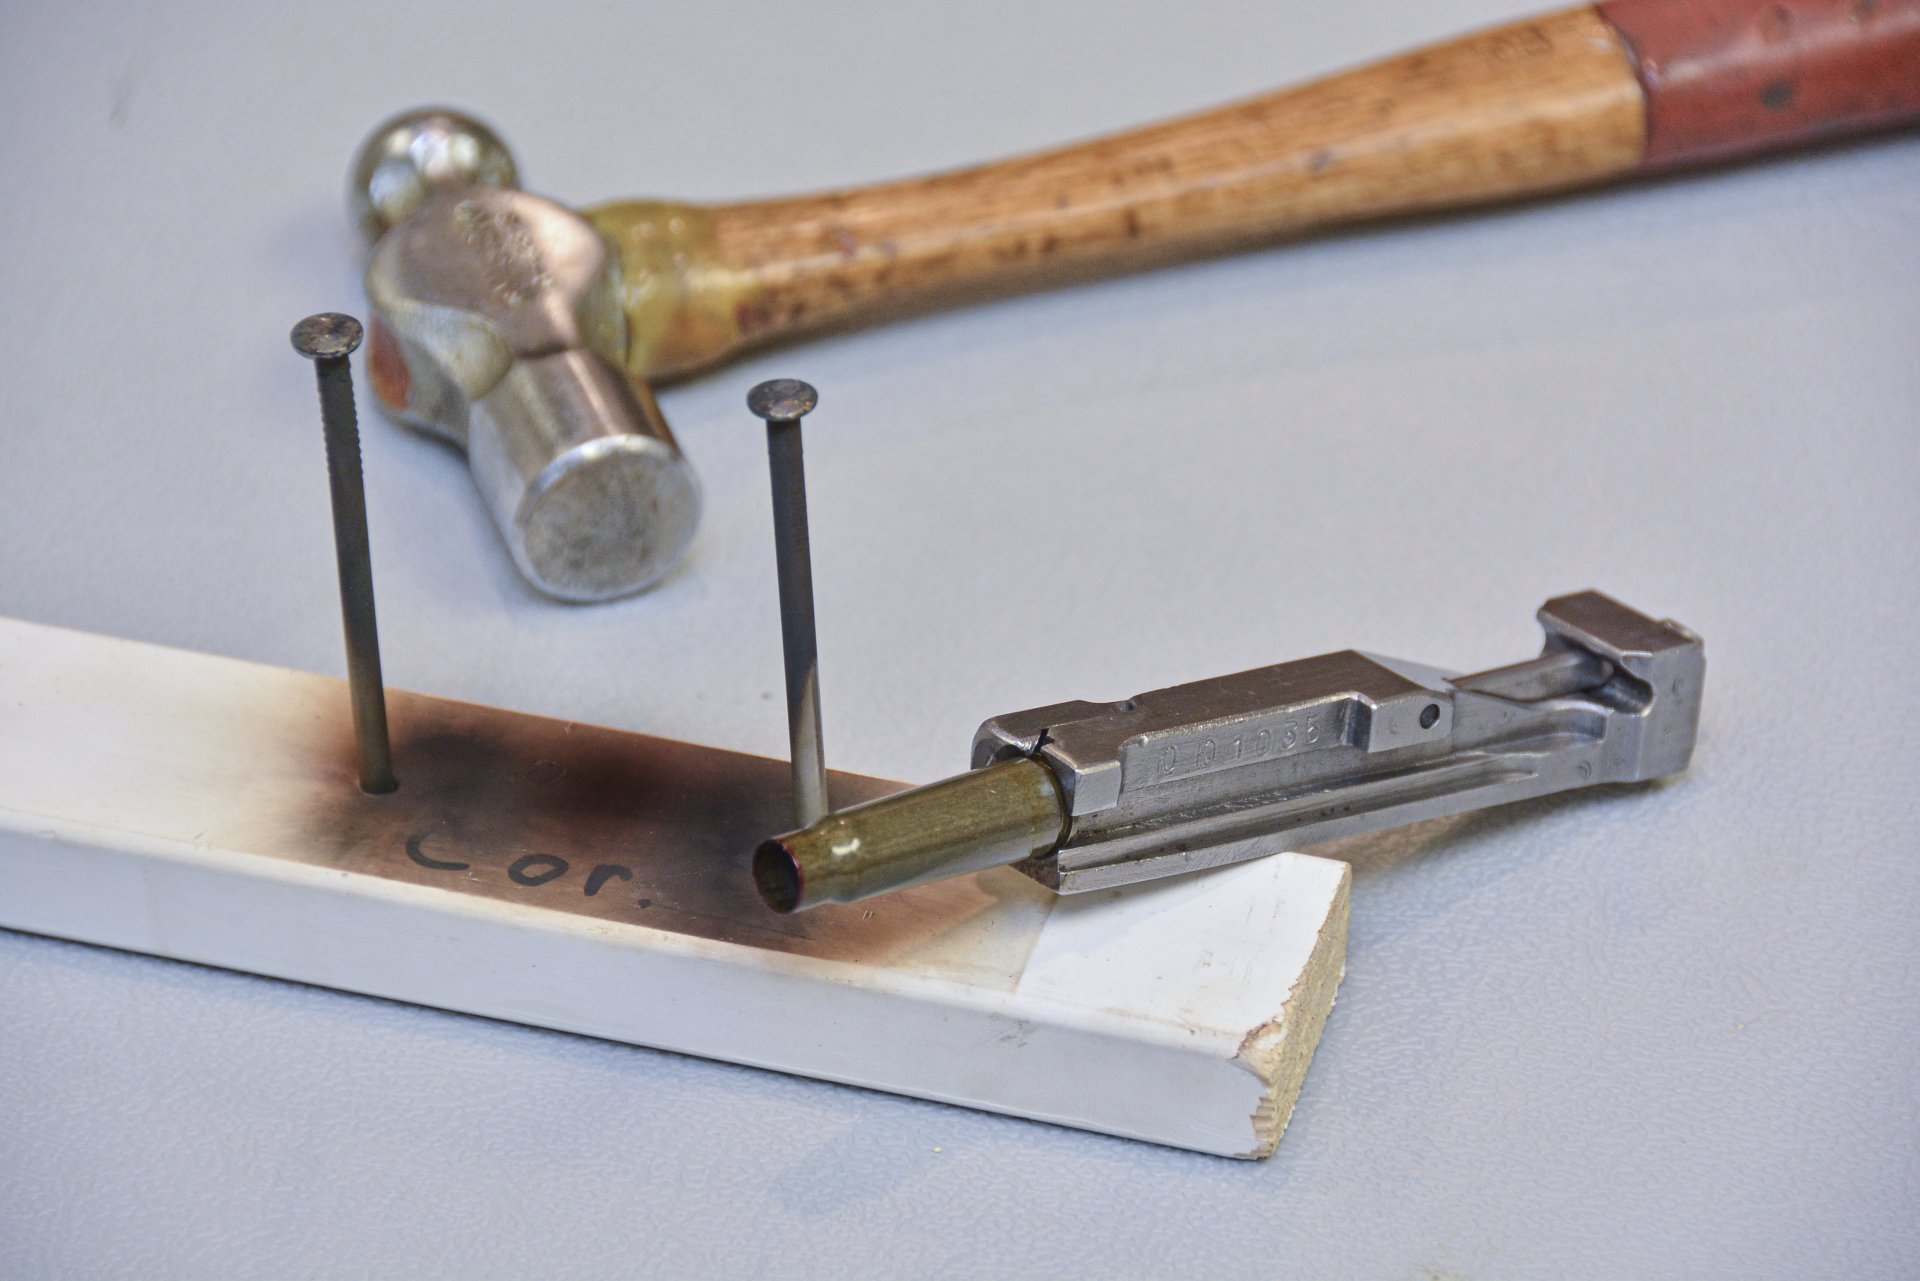
The simplest way to accomplish this is to put the primed cartridge case in your firearm, hold the muzzle near the steel sample and pull the trigger. Mission accomplished. The downside to this simplicity is that the gun now needs cleaning. The other option is to remove the bolt and lock the rim of the cartridge case in behind the bolt’s extractor, so the case head is fully supported. Then press the cartridge case down onto the steel sample and tap the exposed firing pin with a hammer. This works great with an SKS. Yes, you’ll get a little residue on the bolt, but that’s a lot simpler to clean than an entire firearm.
Warning! Never just turn the cartridge case upside down on the steel and tap the primer with a punch and hammer. Doing this leaves the primer unsupported and it will blow back at you hard enough to cause eye damage or skin penetration. Then you’ll have to explain to the ER doctor how you came to have a primer embedded in your cheek. Then he’ll call the police. More explaining will be required. You get the picture. Even with the “safe” systems always wear gloves, safety glasses and ear protection.
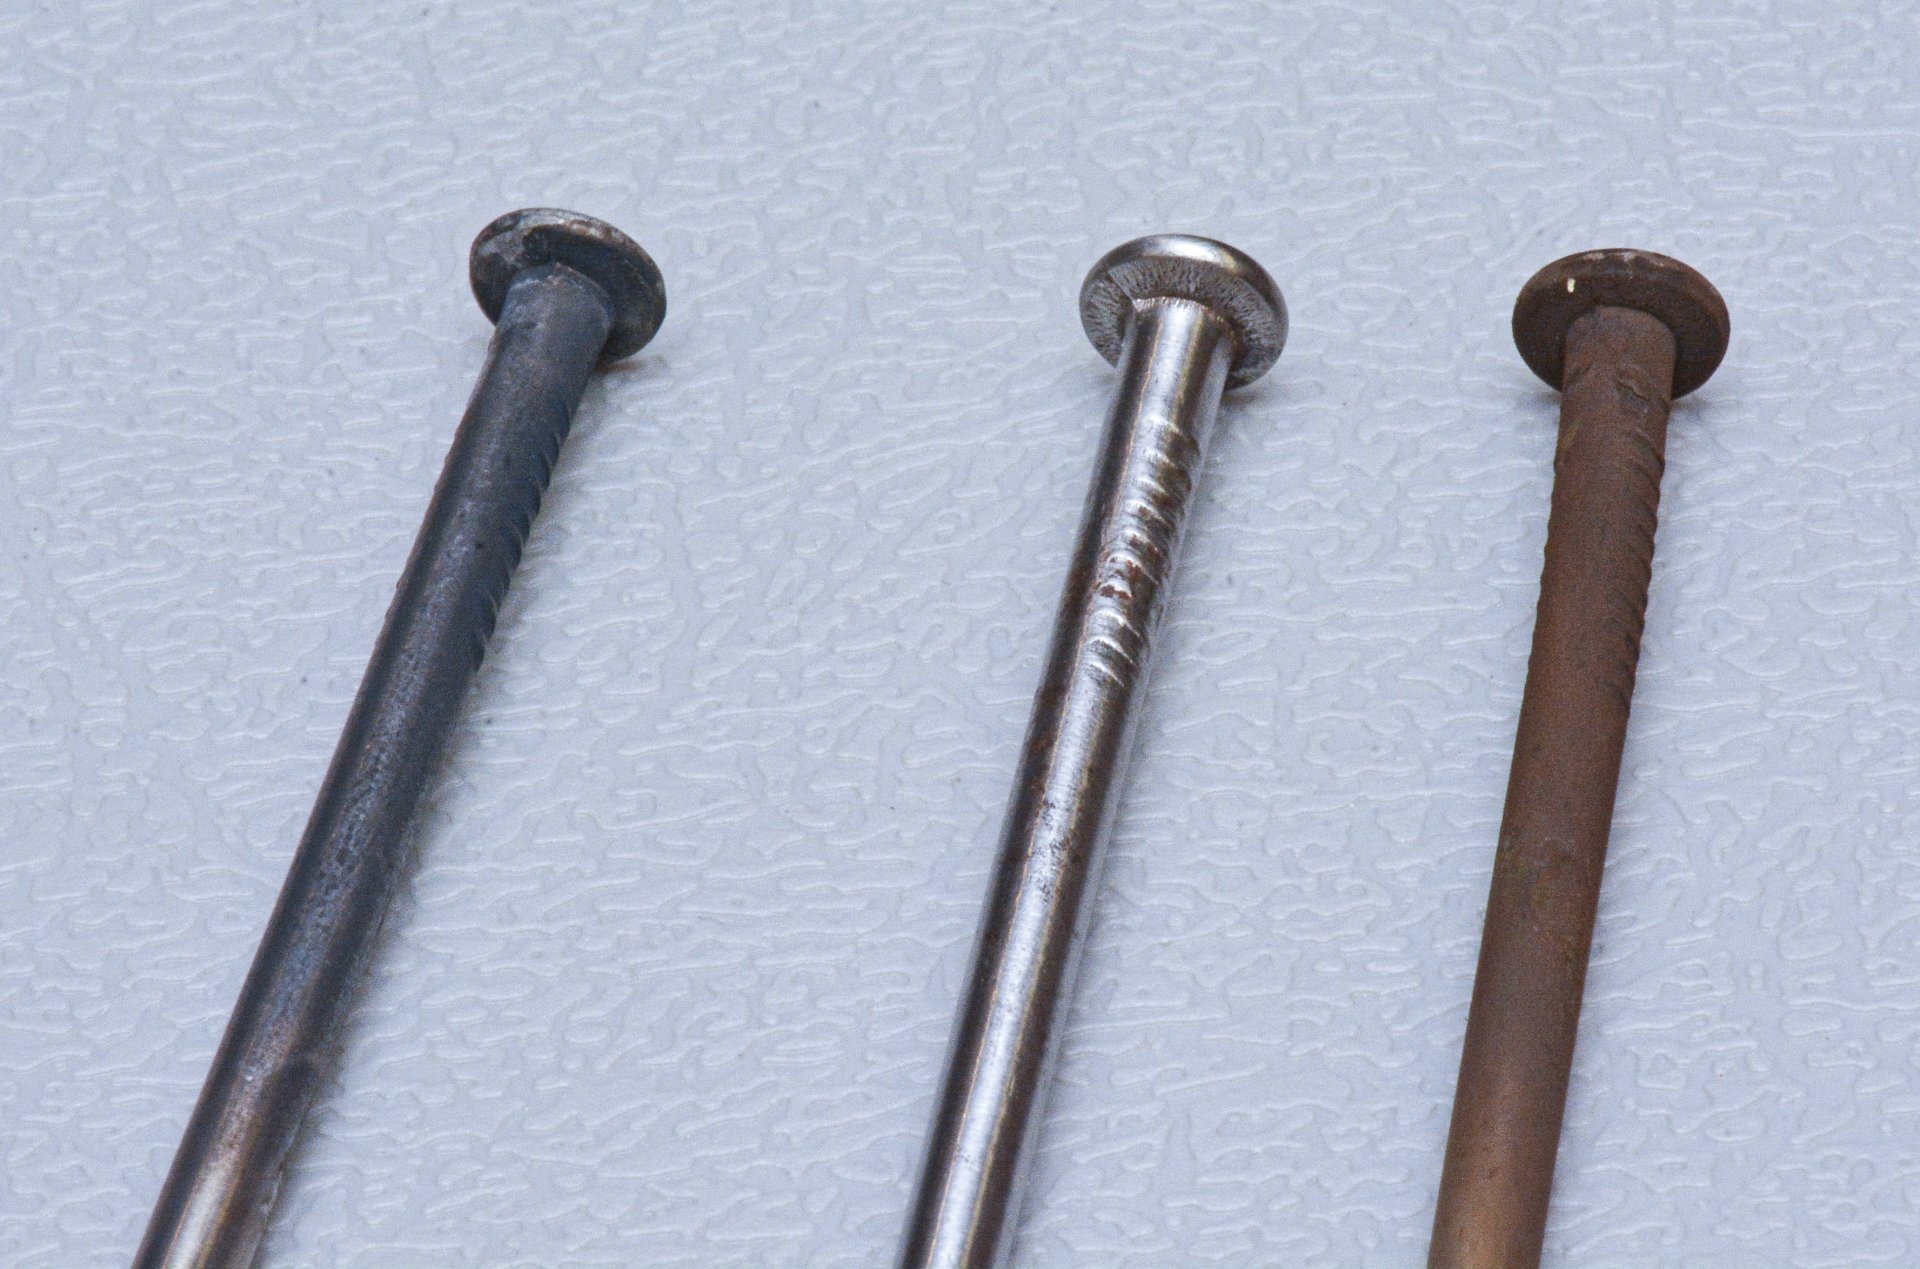
The final step is to set your steel sample in a humid environment—a bathroom works well—and wait a few days to see if rust develops. If it does, the ammo is corrosive. If not, it’s likely okay. And during your test, it’s always a good idea to mask off some bare steel and leave it uncontaminated as a standard, exposing it to humidity as well. Popping a known non-corrosive primer is also a good idea, as it allows for a meaningful comparison of primer chemistry.
Clean-Up
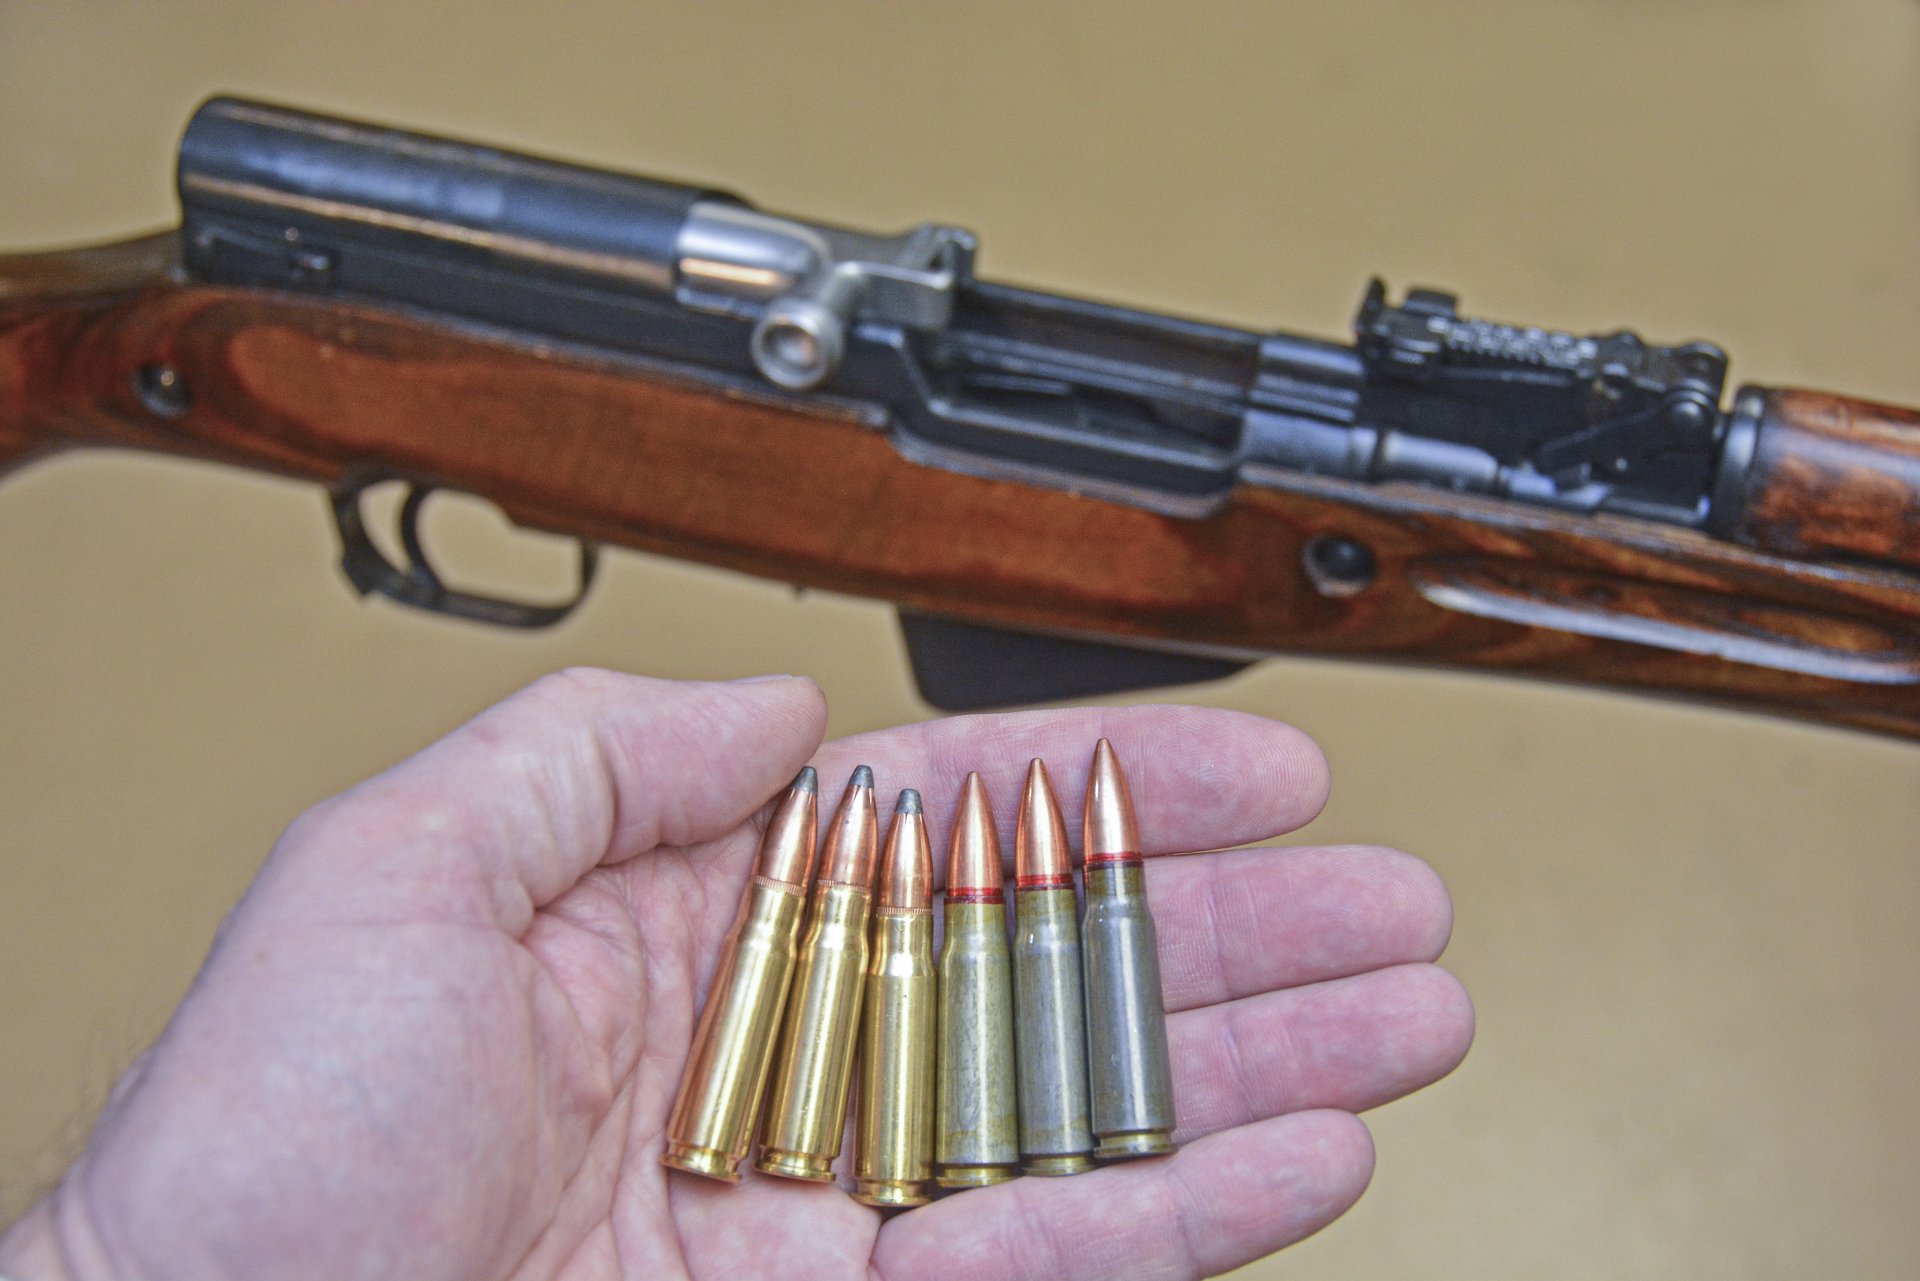
Let’s say you’ve confirmed that case of 7.62X39mm Chinese you picked up at the gunshow for a bargain price is corrosive. Now what? How do you clean a rifle after a day at the range?
Let’s start by noting that whether you shoot a single round of the stuff, or an entire hermetically sealed “Spam can,” the cleaning process is the same. So, if you’re going to shoot corrosive ammo, you might as well make the cleaning worthwhile and tear through as much ammo in one range session as your budget allows.
Fortunately, the cleaning is cheap, because all that’s required is water. This is because salt is water soluble. Remember the part about salt being hygroscopic? This is where we can make that work for us. By flushing all contaminated parts with plenty of hot water, the corrosive salts are removed.
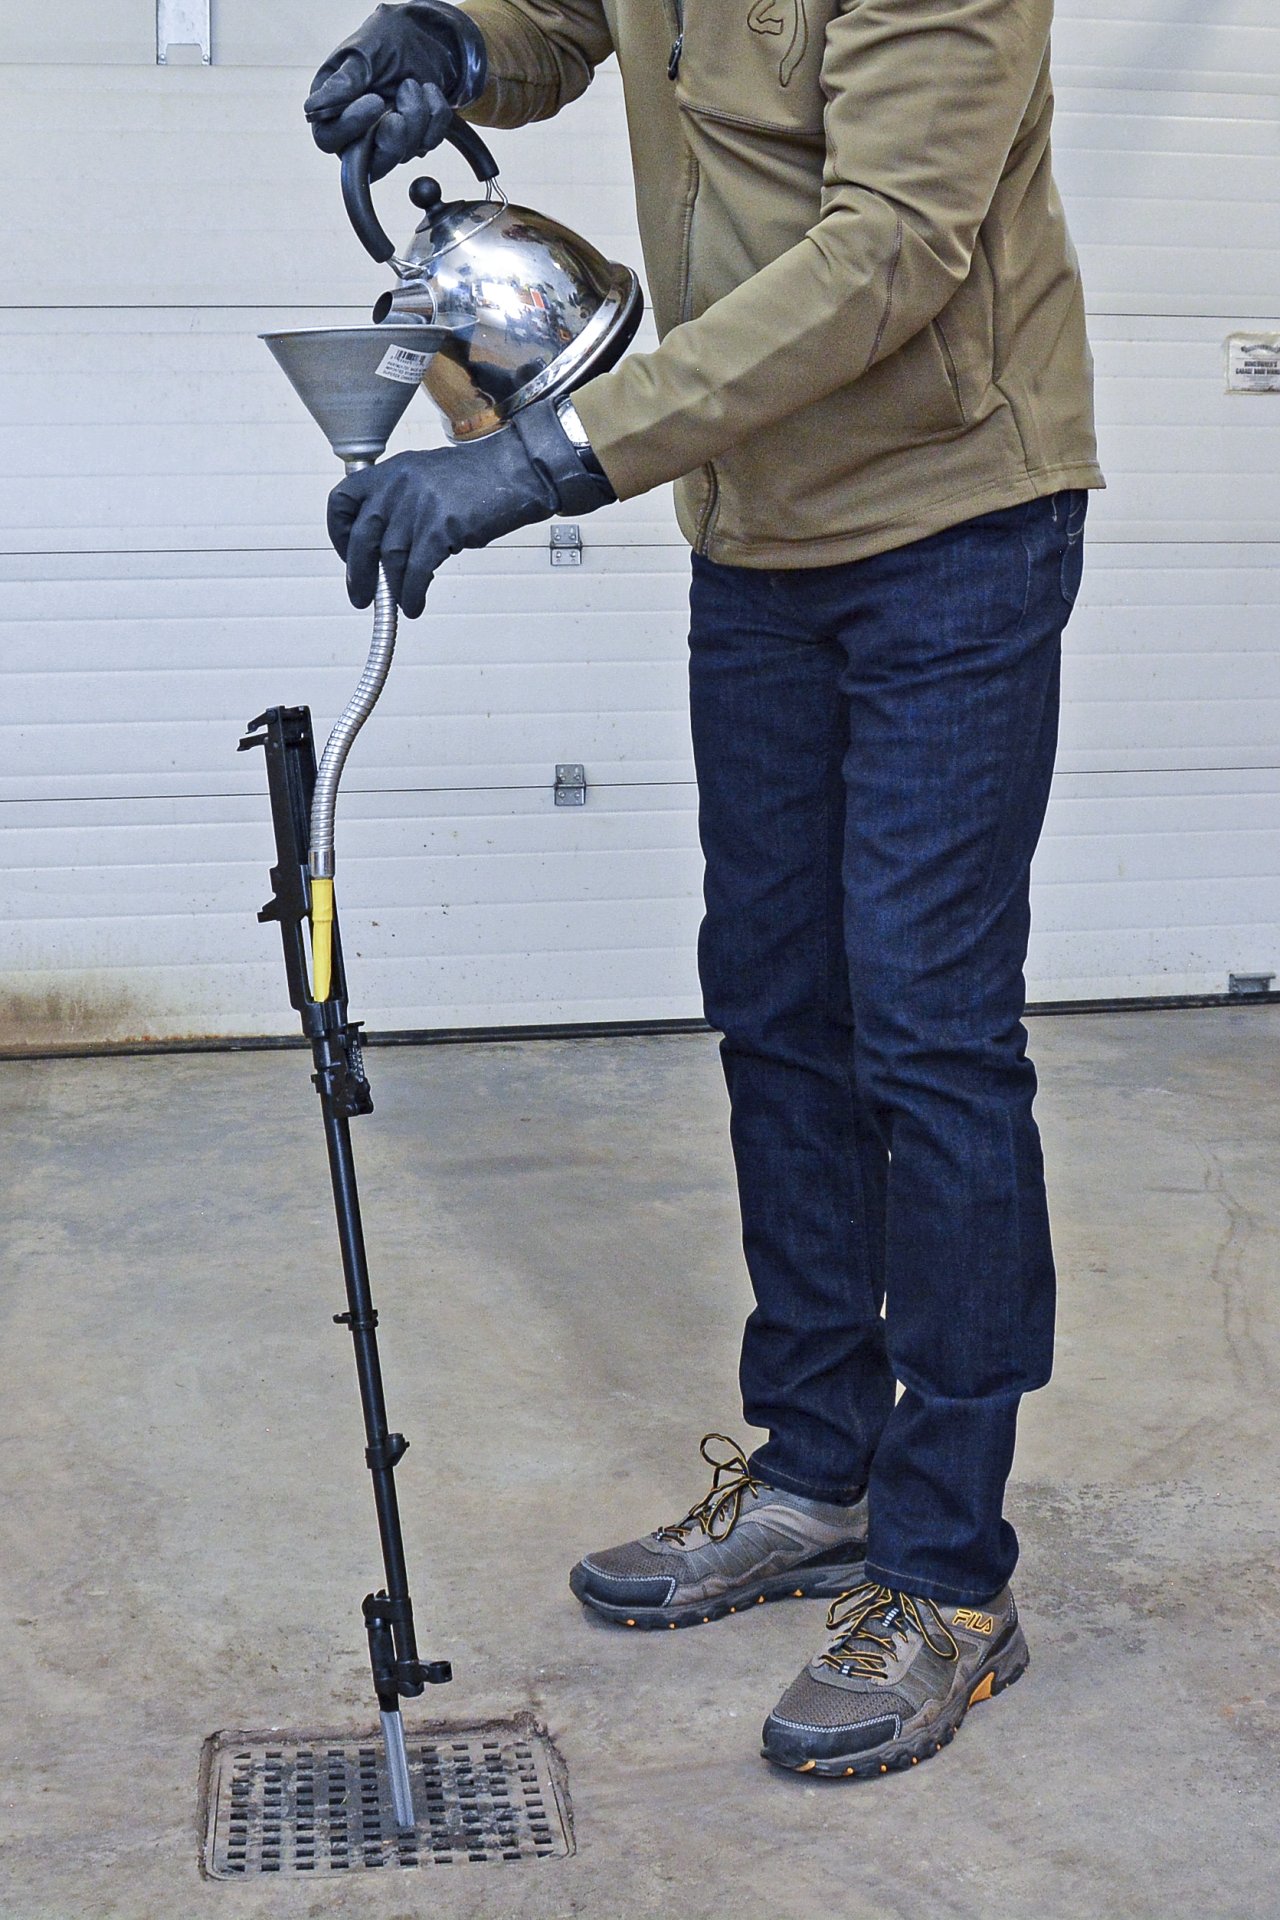
If you happen to have a deep laundry sink available, that’s likely a great place to do this. Hook a short flexible hose to the spout and run hot water thoroughly over, in and through the entire disassembled firearm. There’s no laundry sink around here, but there is a floor drain in the garage, so that’s what I use. A full kettle of boiling water gets poured over the disassembled rifle as well as through the bore and gas system. If the rifle has a bayonet, it gets extended and jammed into the drain’s plastic grate. That keeps the rifle supported, muzzle down, and with the help of a funnel with a long flexible spout, boiling water can be directed just about anywhere with no fear of scalding the operator. After an initial flush, run a bore brush through the barrel and the gas system (if possible) and then flush it again.
It may seem counter-intuitive to pour water on a rifle in order to stop rust, but it really is what’s necessary. And making the water as hot as possible heats the metal, helping it to dry quicker. Once it’s cool enough to handle, an air hose helps remove any moisture left. At this point, you’ll still need to tackle the copper fouling in the bore and any remaining carbon fouling wherever it has accumulated.
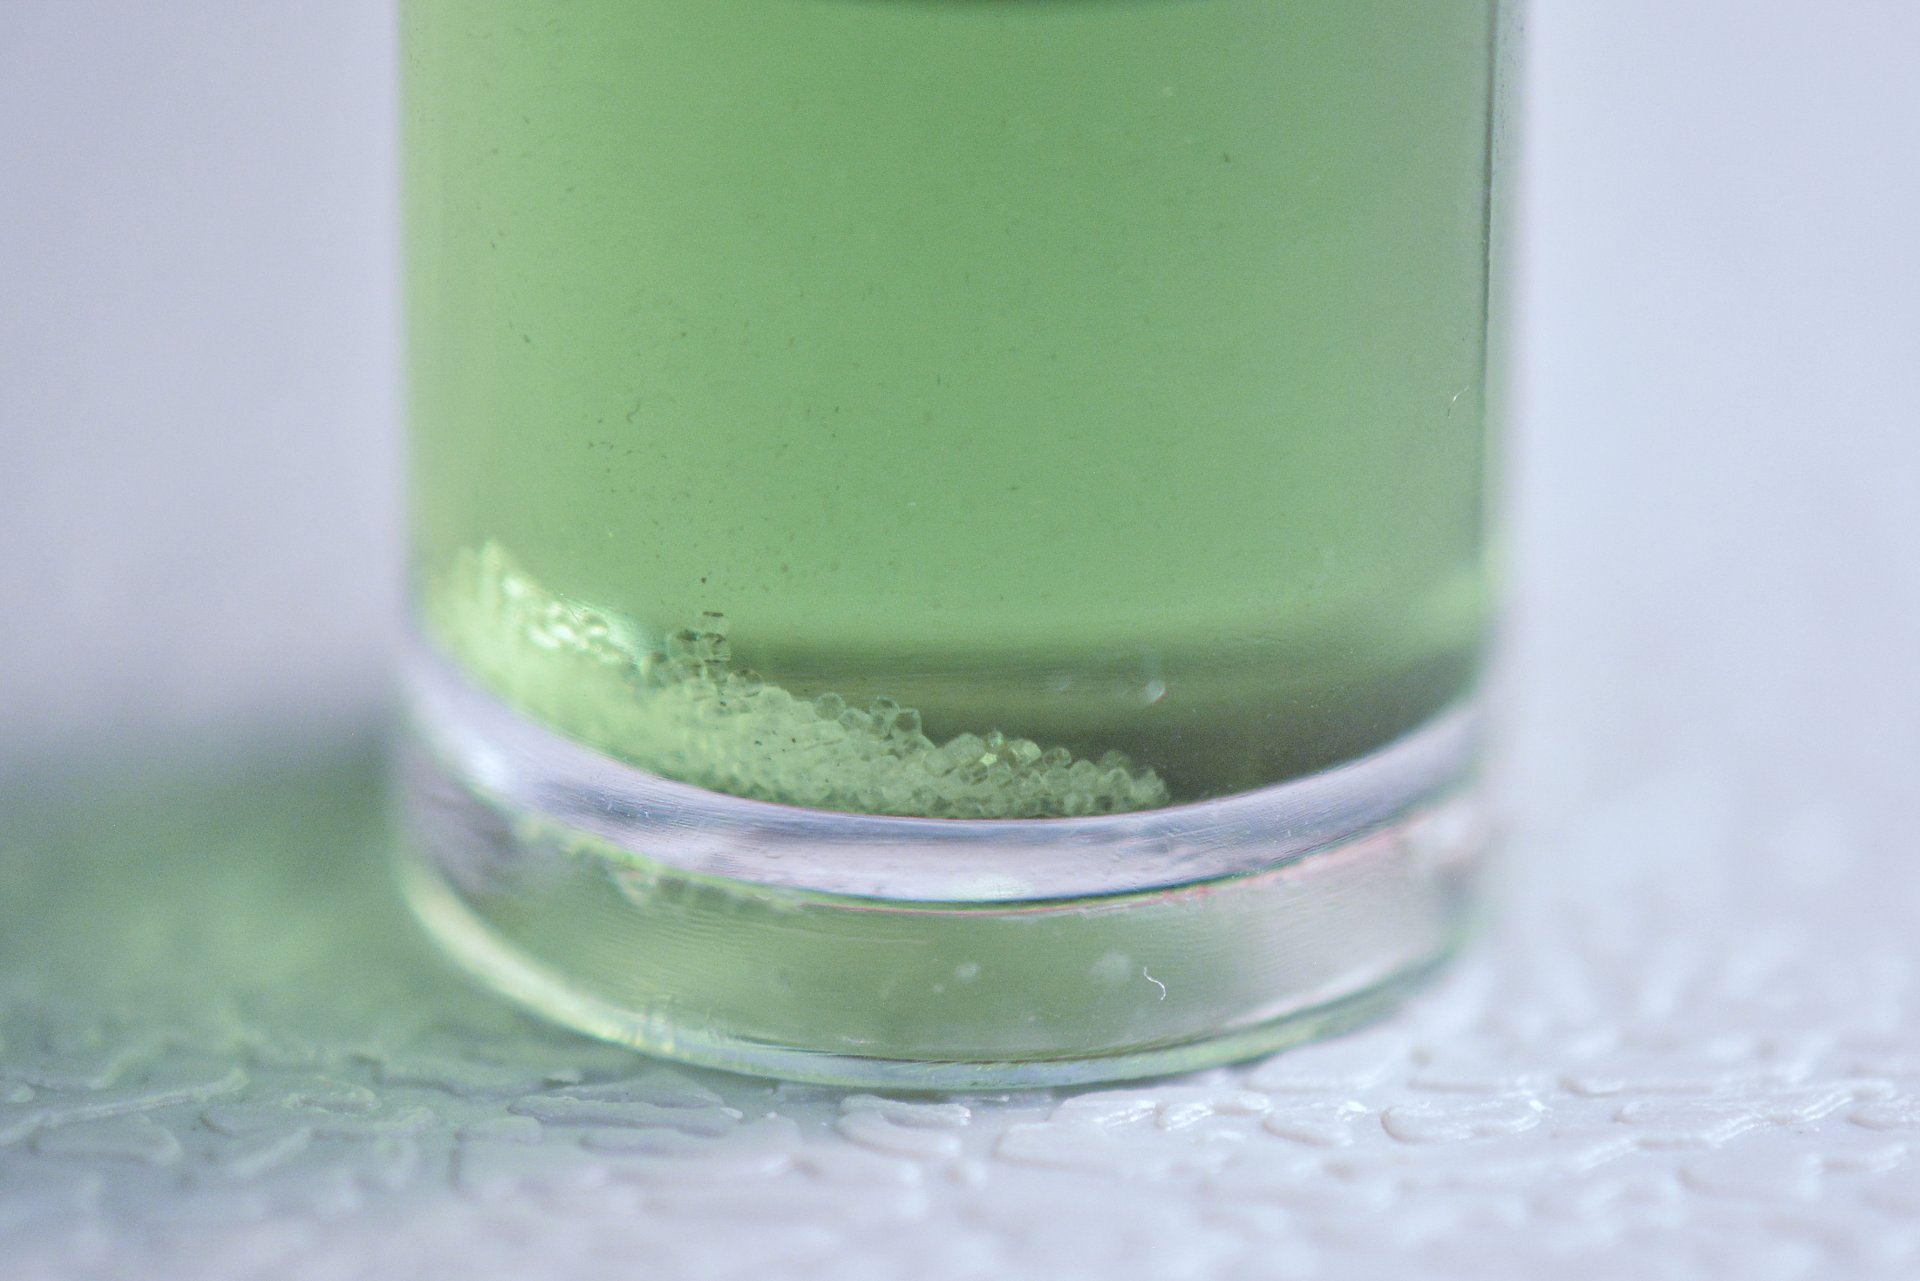
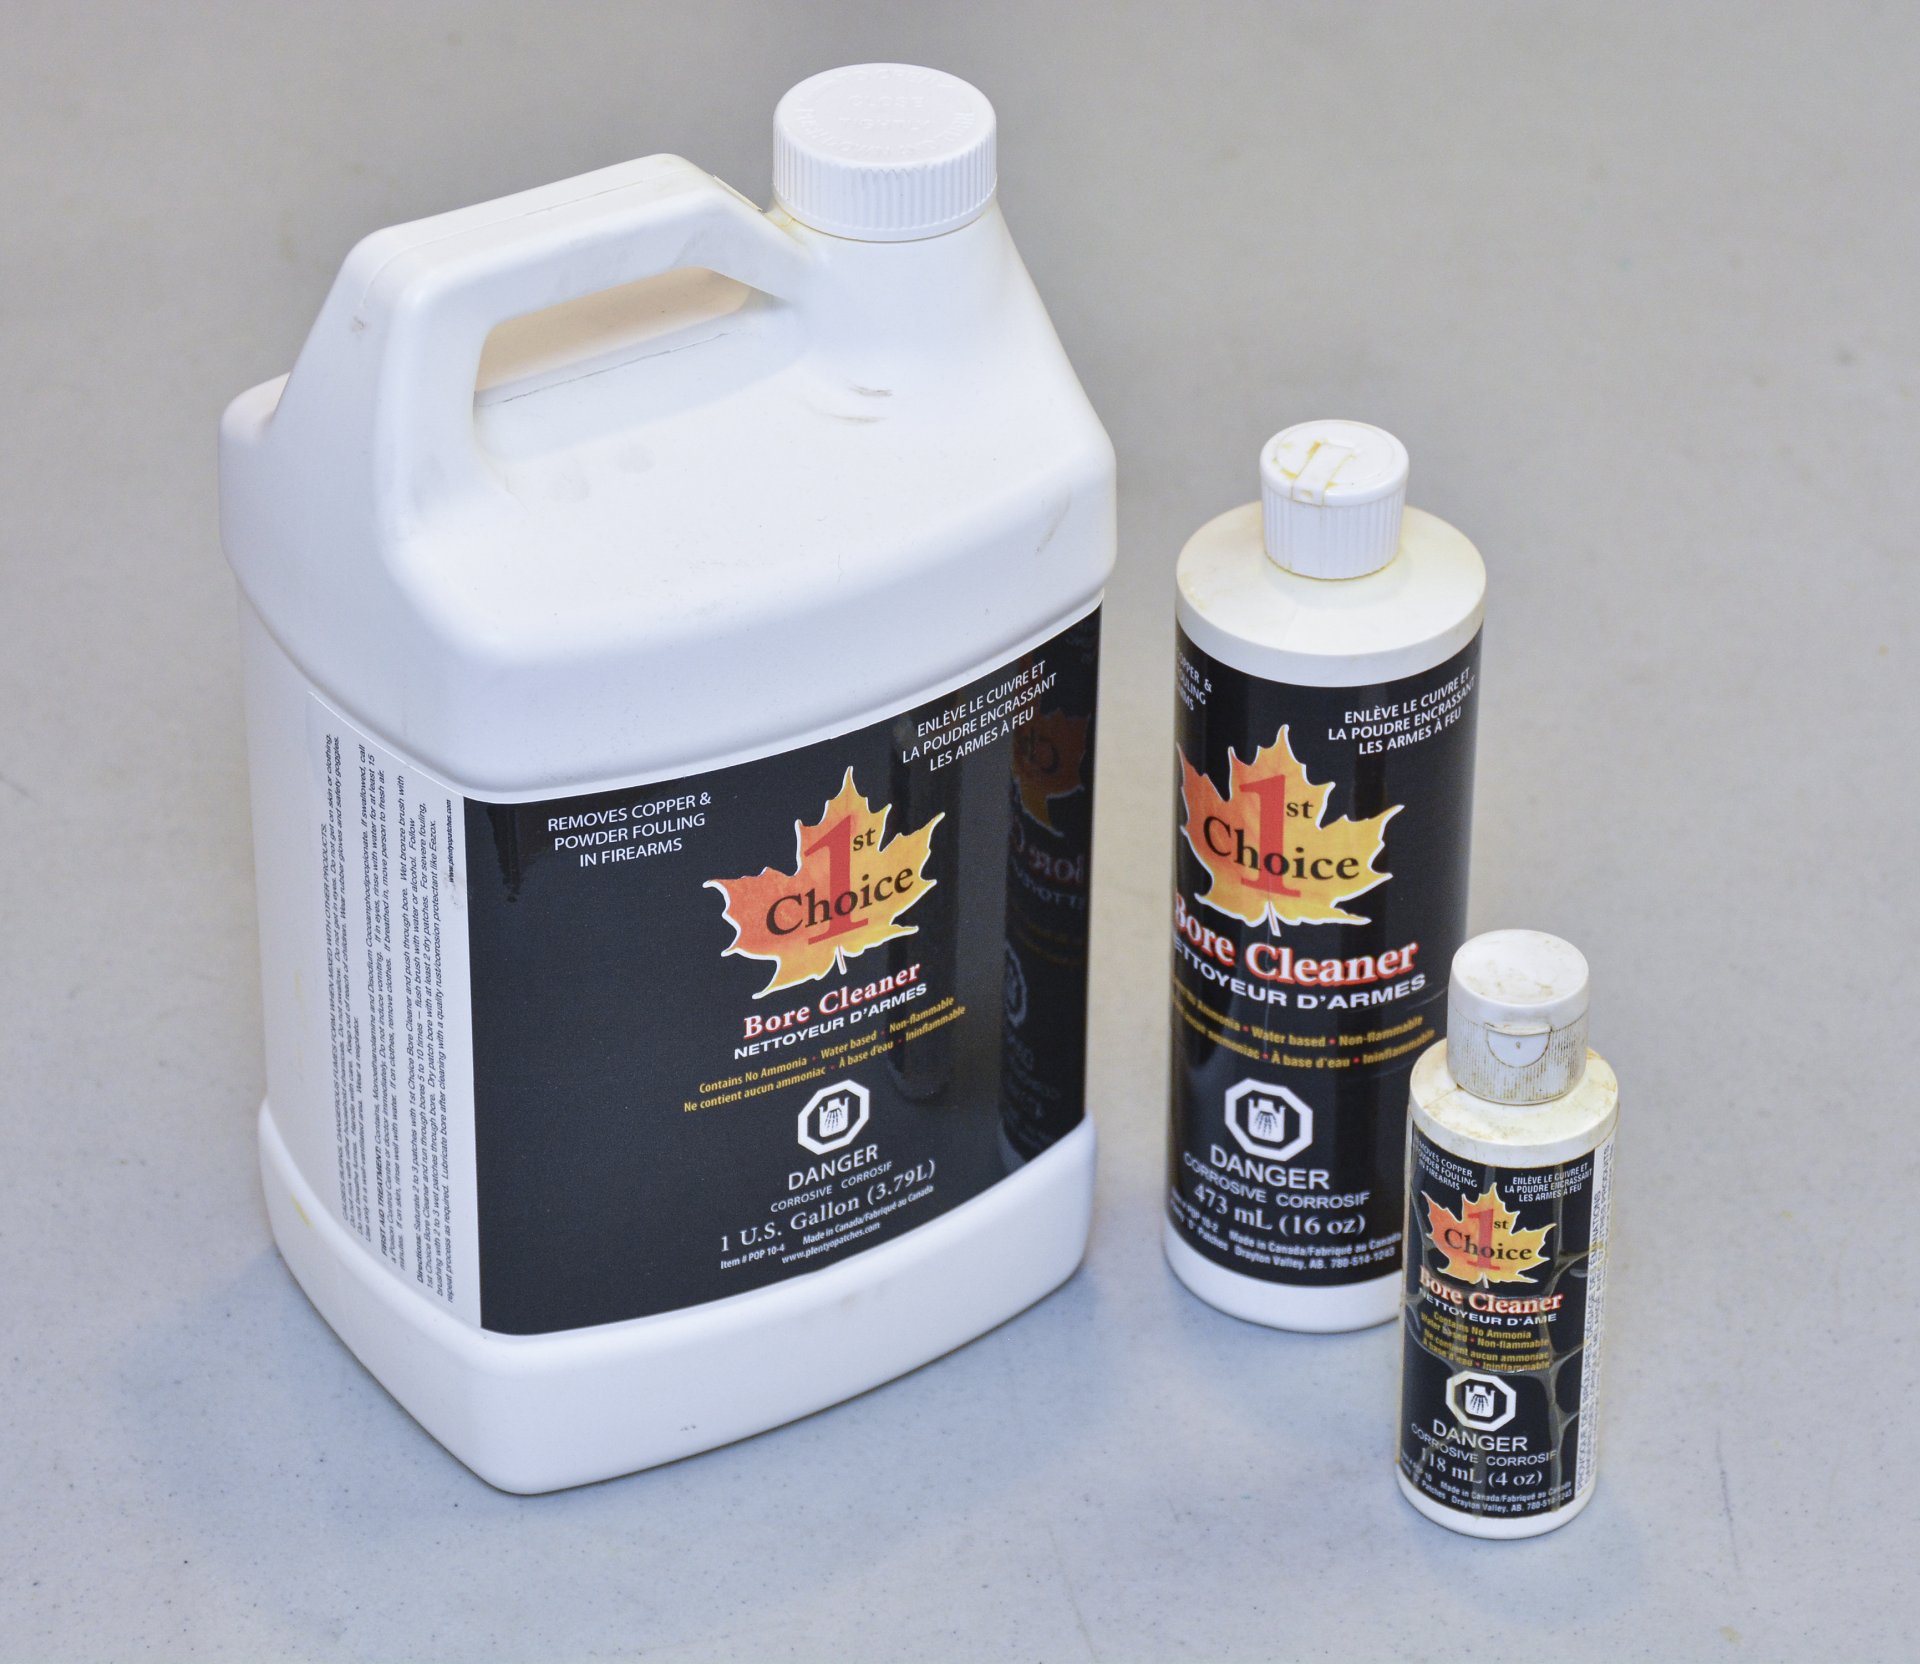
While this step is a typical gun cleaning process using solvents, brushes, and scrapers, it should be done with a water-based solvent. Because, although the hot water bath has removed most of the salts, there may be some still hiding under the fouling. Use of a water-based cleaner helps dissolve and remove any remaining salt residue. If you’re not sure if your favourite bore cleaner is water-based, pour a small amount into a clear glass, add a tiny bit of table salt and try to dissolve it. The favourite around here is 1st Choice, a Canadian product that excels not just at removing corrosive residue, but also at any bore cleaning task. And as a bonus, it’s odourless.
Finally, remember to clean the often-ignored parts such as the muzzle brake, bolt assembly, chamber and anywhere firing residue can accumulate. And if the gun metal is squeaky clean, consider applying a protective product like G-96 Gun Treatment. Just don’t expect it or anything else to protect the metal from corrosion after your next range session, not even chrome lining. That chrome bore plating will certainly slow down corrosion, but it won’t stop it. If you care about your gun, you’ll have to clean it.
Cleaning within 24 hrs is simply the price we pay for cheap ammo. You knew there was a price, didn’t you? Cheap always has a price. But once you’ve got a system established the cleaning routine isn’t too bad. So, don’t be afraid of corrosive ammo. Just recognize what’s needed to deal with the residue and do it. Someday, you may even hit on that magic combination of cheap and accurate.

 SUBSCRIBE TO CALIBRE MAGAZINE
$30.00 / year
SUBSCRIBE TO CALIBRE MAGAZINE
$30.00 / year
 UNAPOLOGETICALLY CANADIAN MEN'S T-SHIRT
$29.00
UNAPOLOGETICALLY CANADIAN MEN'S T-SHIRT
$29.00
 UNAPOLOGETICALLY CANADIAN WOMEN'S T-SHIRT
$29.00
UNAPOLOGETICALLY CANADIAN WOMEN'S T-SHIRT
$29.00